G3 Sample Applications and Demos
Here, you’ll find a comprehensive guide for developers interested in creating and deploying Qt-based applications on the G3 module, focusing on a “Hello World!” example and exploring other sample applications.
Note: The application-related content in this Quick Start Guide is currently focused solely on Qt development. The G3 module is the first generation of Reach Technology displays that support alternative HMI GUI development solutions. We will add additional content on the other RAD tools over time.
The topics in this section will enable you to:
- Create your first Qt project.
- Import and run other projects.
The G3 module has a growing selection of sample Qt applications demonstrating the use of module-specific hardware.
A couple of sample Qt applications come installed on the VM for your use. The bulk of the example Qt applications are available on GitHub.
The sample applications can be downloaded from GitHub.
To clone the Git repository directly from the Linux VM:
- Open a terminal window.
- Enter the command git clone https://github.com/jmore-reachtech/reach-g3-qt5-sample-apps.git
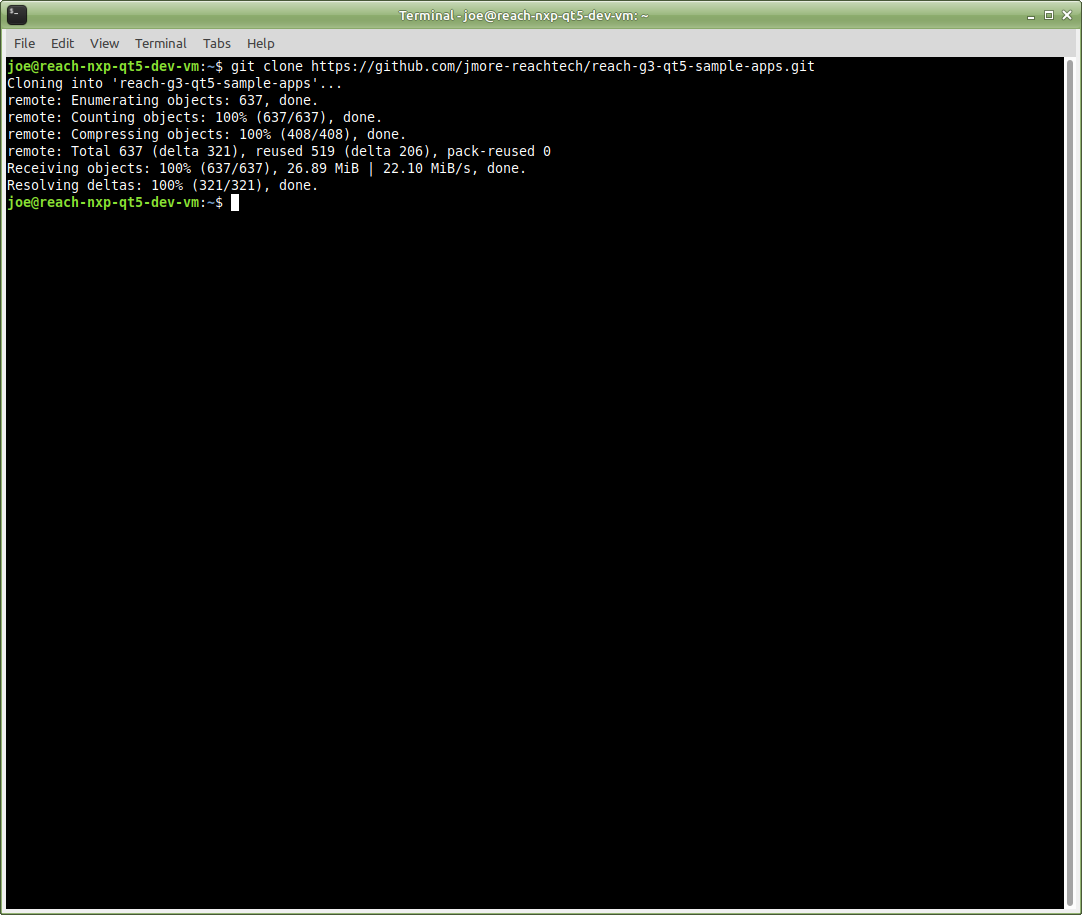 Note: The cloned folder (reach-g3-qt5-sample-apps) will be placed in the Home folder in the VM.
Sample applications include:
- Medical Demo: This is the application you have already used.
- ModBus: Interact with ModBus devices.
- CAN Bus: A J1939 app using specific hardware for the tests.
- GPIO: Excercise onboard GPIO pins.
Plus, more apps, scripts, sound files and images.
As an introduction to building a Qt-based end-product application, we will create the ubiquitous “Hello World!” demonstration using Qt Creator.
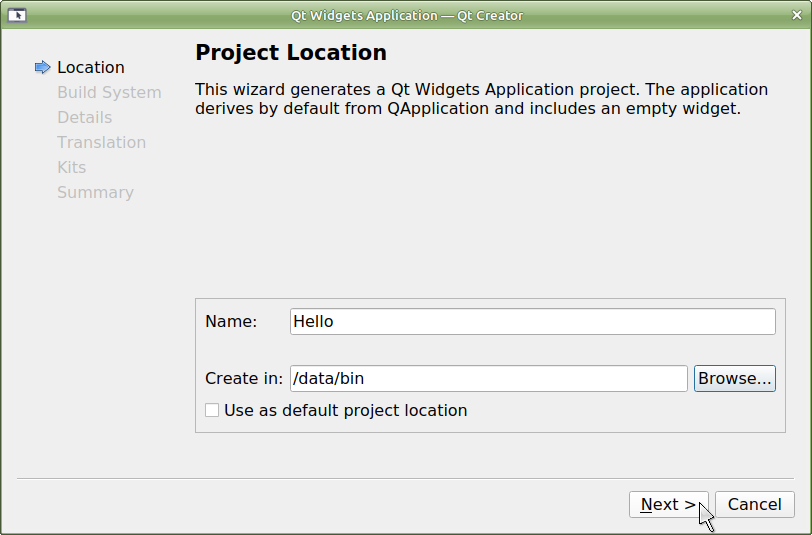
Tip: This project demonstrates the expected application paths on the G3 module. Pay attention wherever you see /data/bin (and don’t use something else).
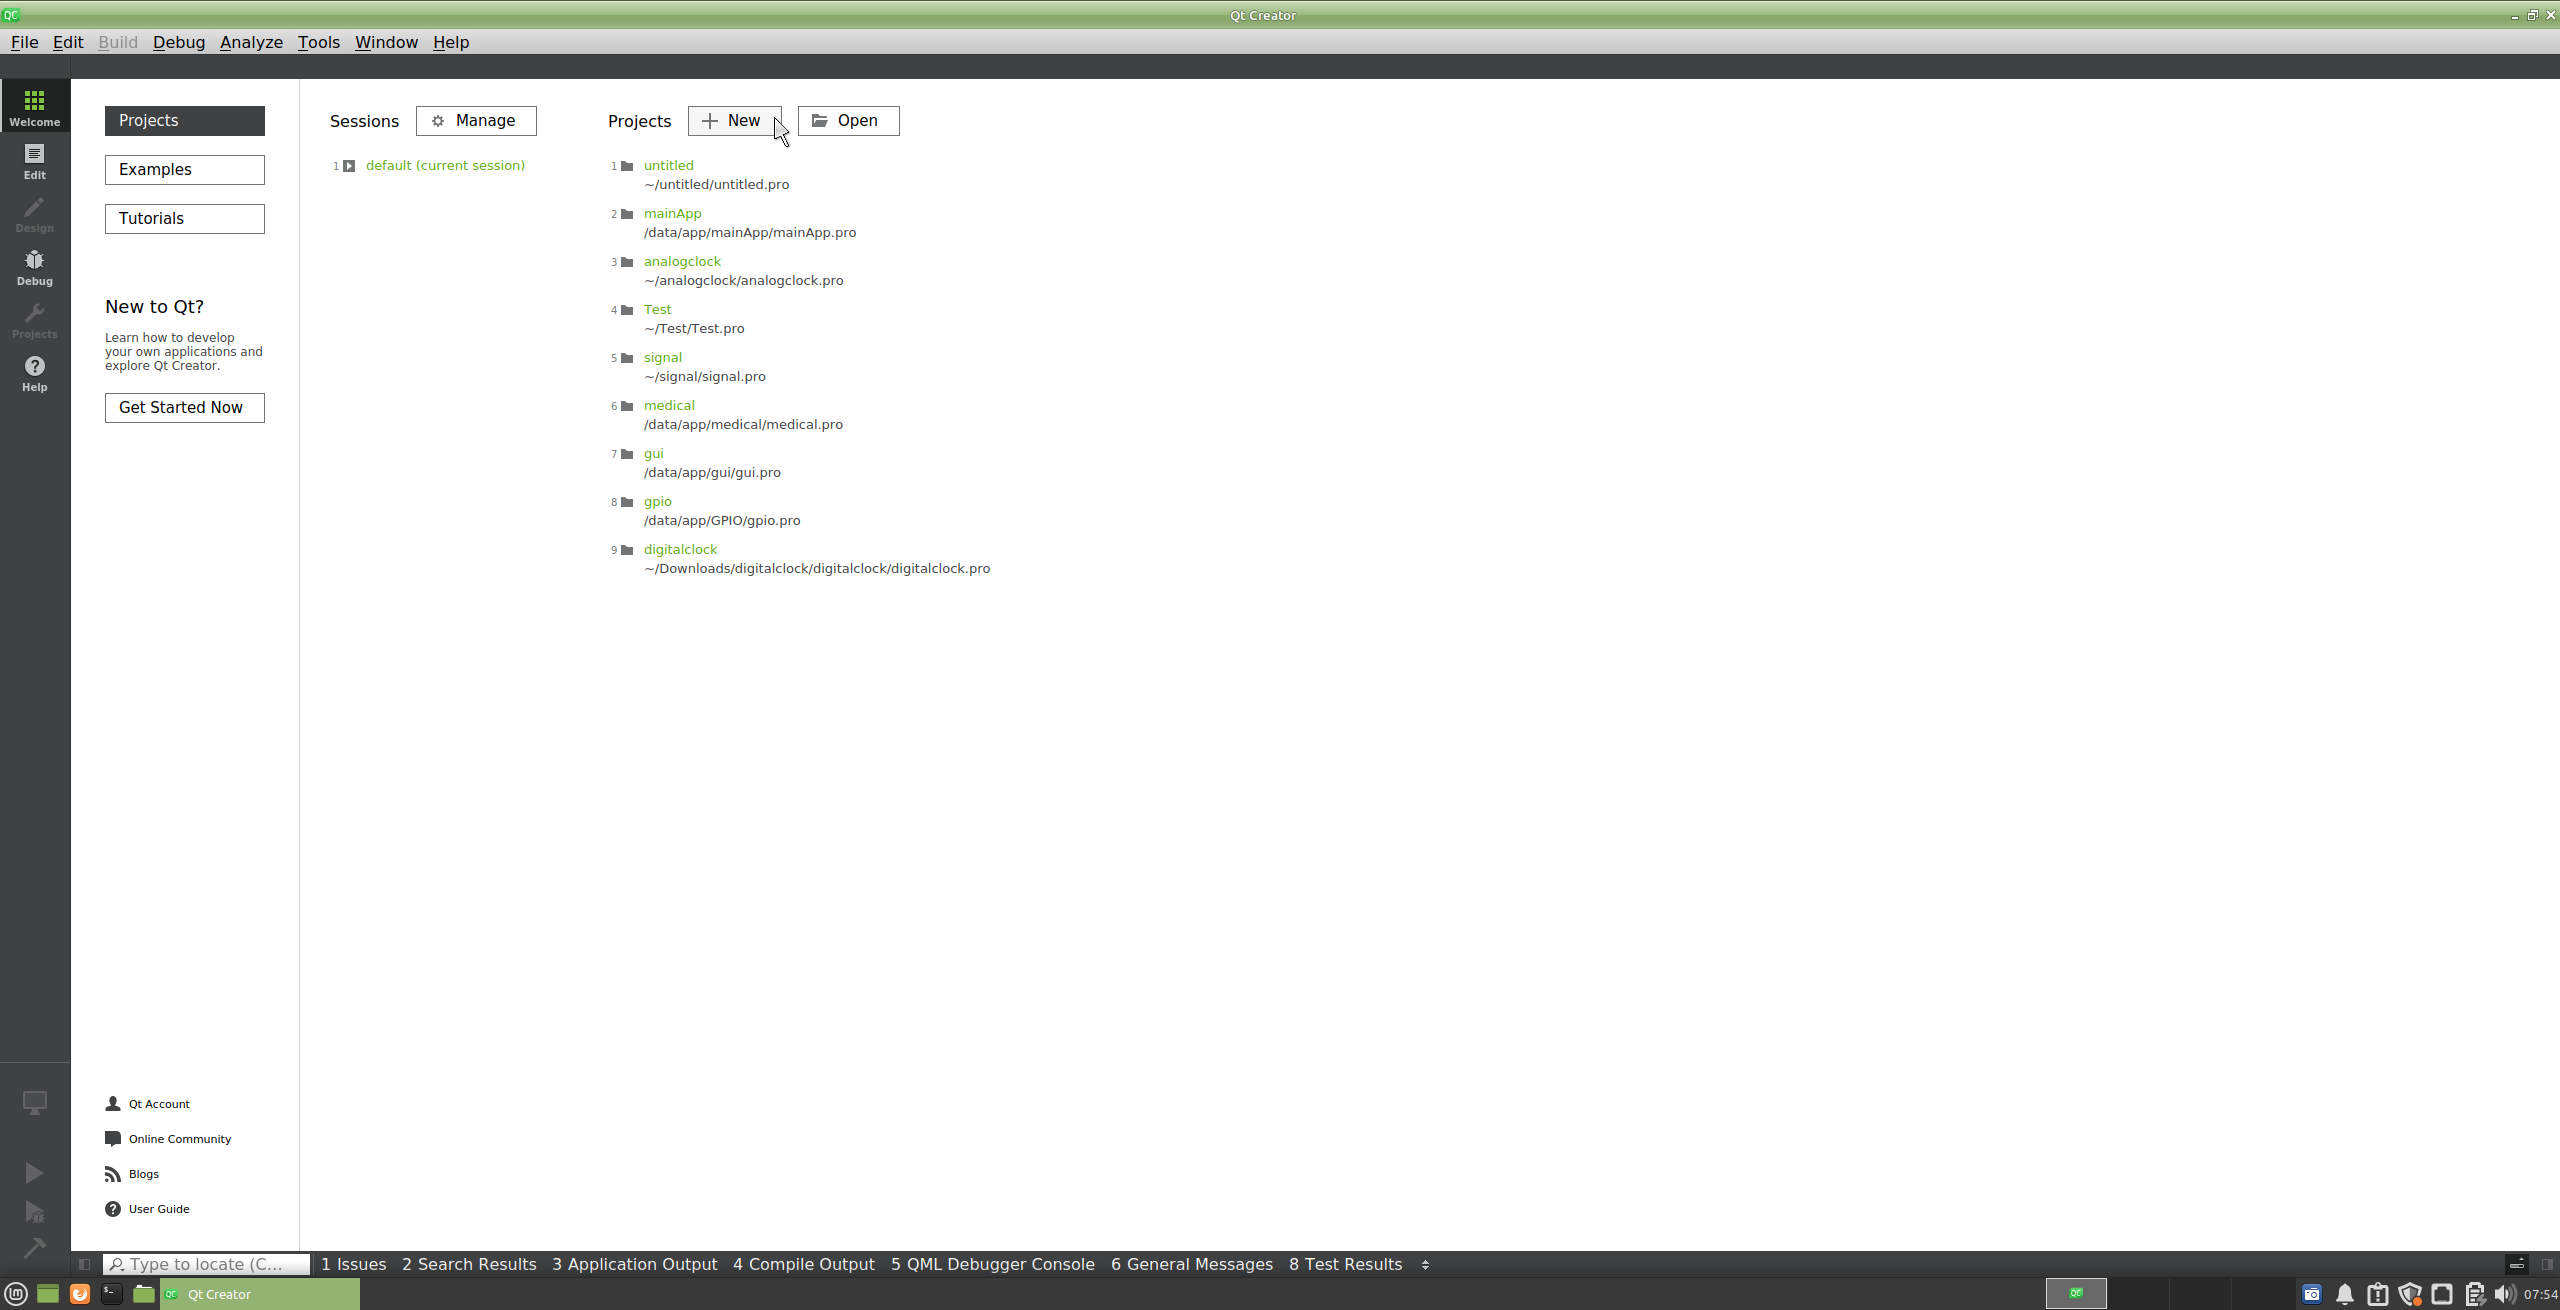
Create a New Project
- Open Qt Creator. Look for the VM desktop icon or the XFCE menu.
- Choose one of these methods:
- Projects -> + New
- Go to File -> New File or Project.
OR

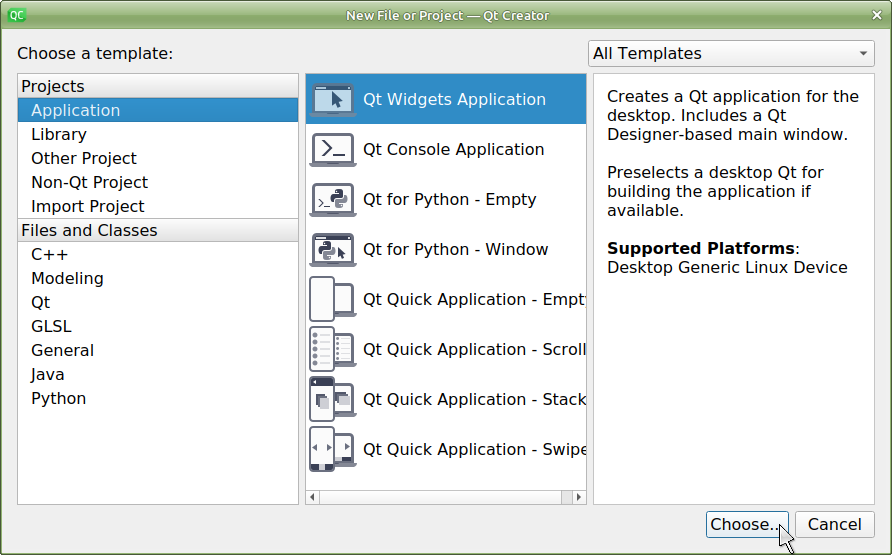
- Select Application -> Projects -> Qt Widgets Application.
- Enter the project name and file location, then click Next.
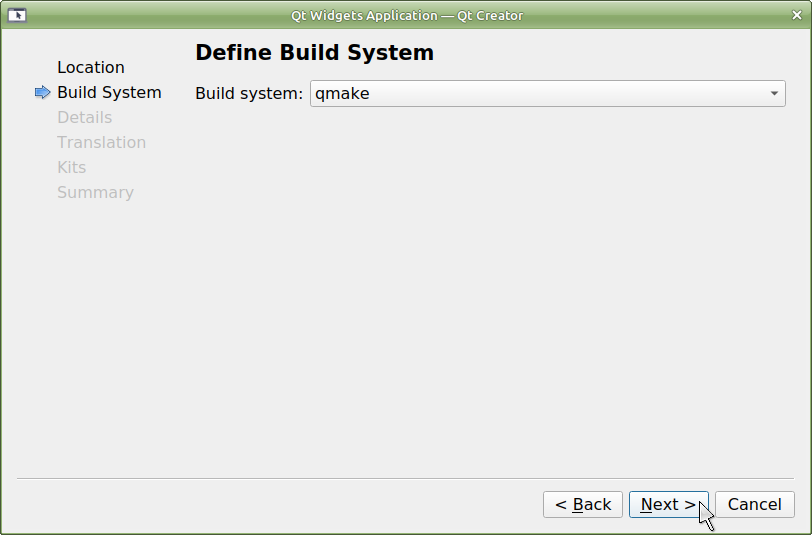
- Select the default Build System, qmake, then click Next.
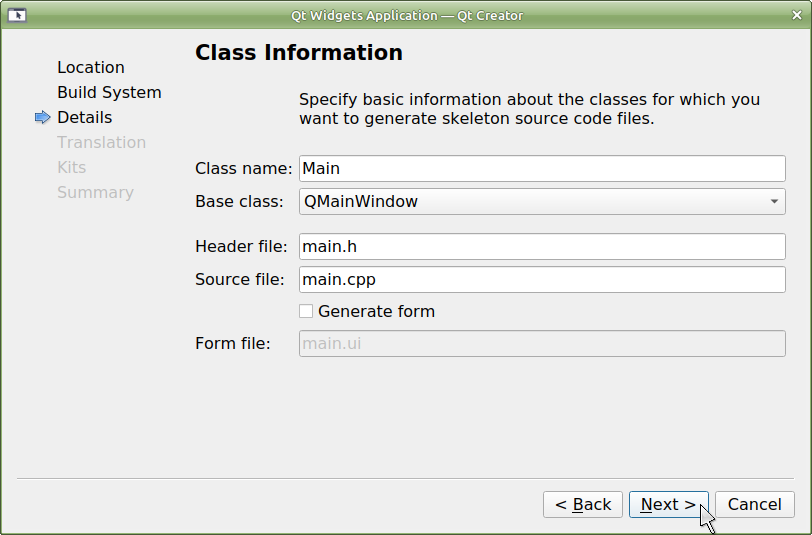
- Enter your class parameters, then click Next.
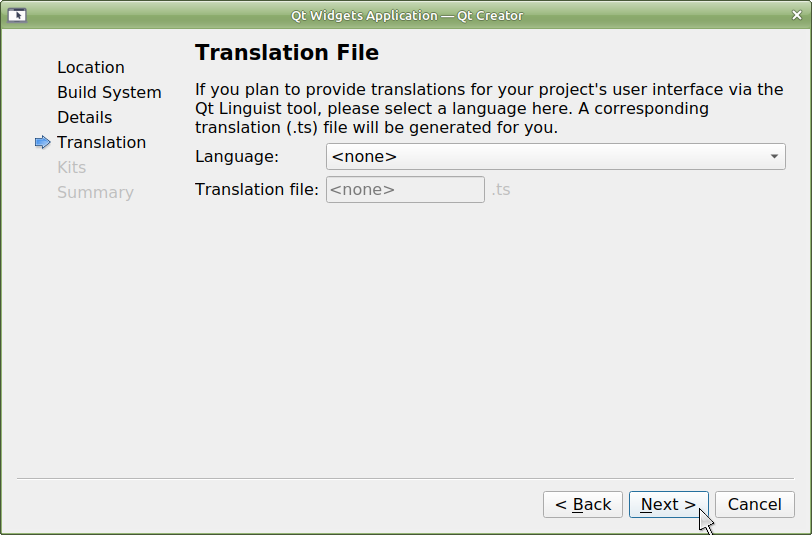
- A translation file is not required for this project. Cick Next.
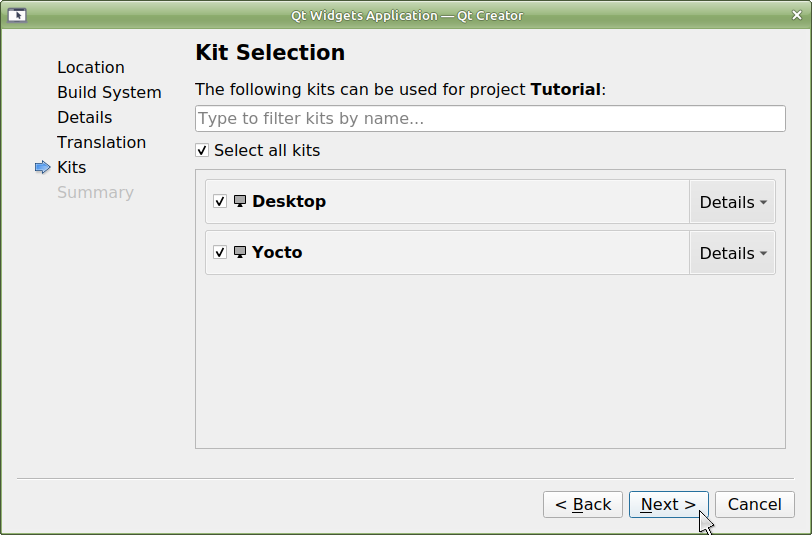
- Check Select all kits for the kit(s) to use in this project, then click Next.
- Click Finish.

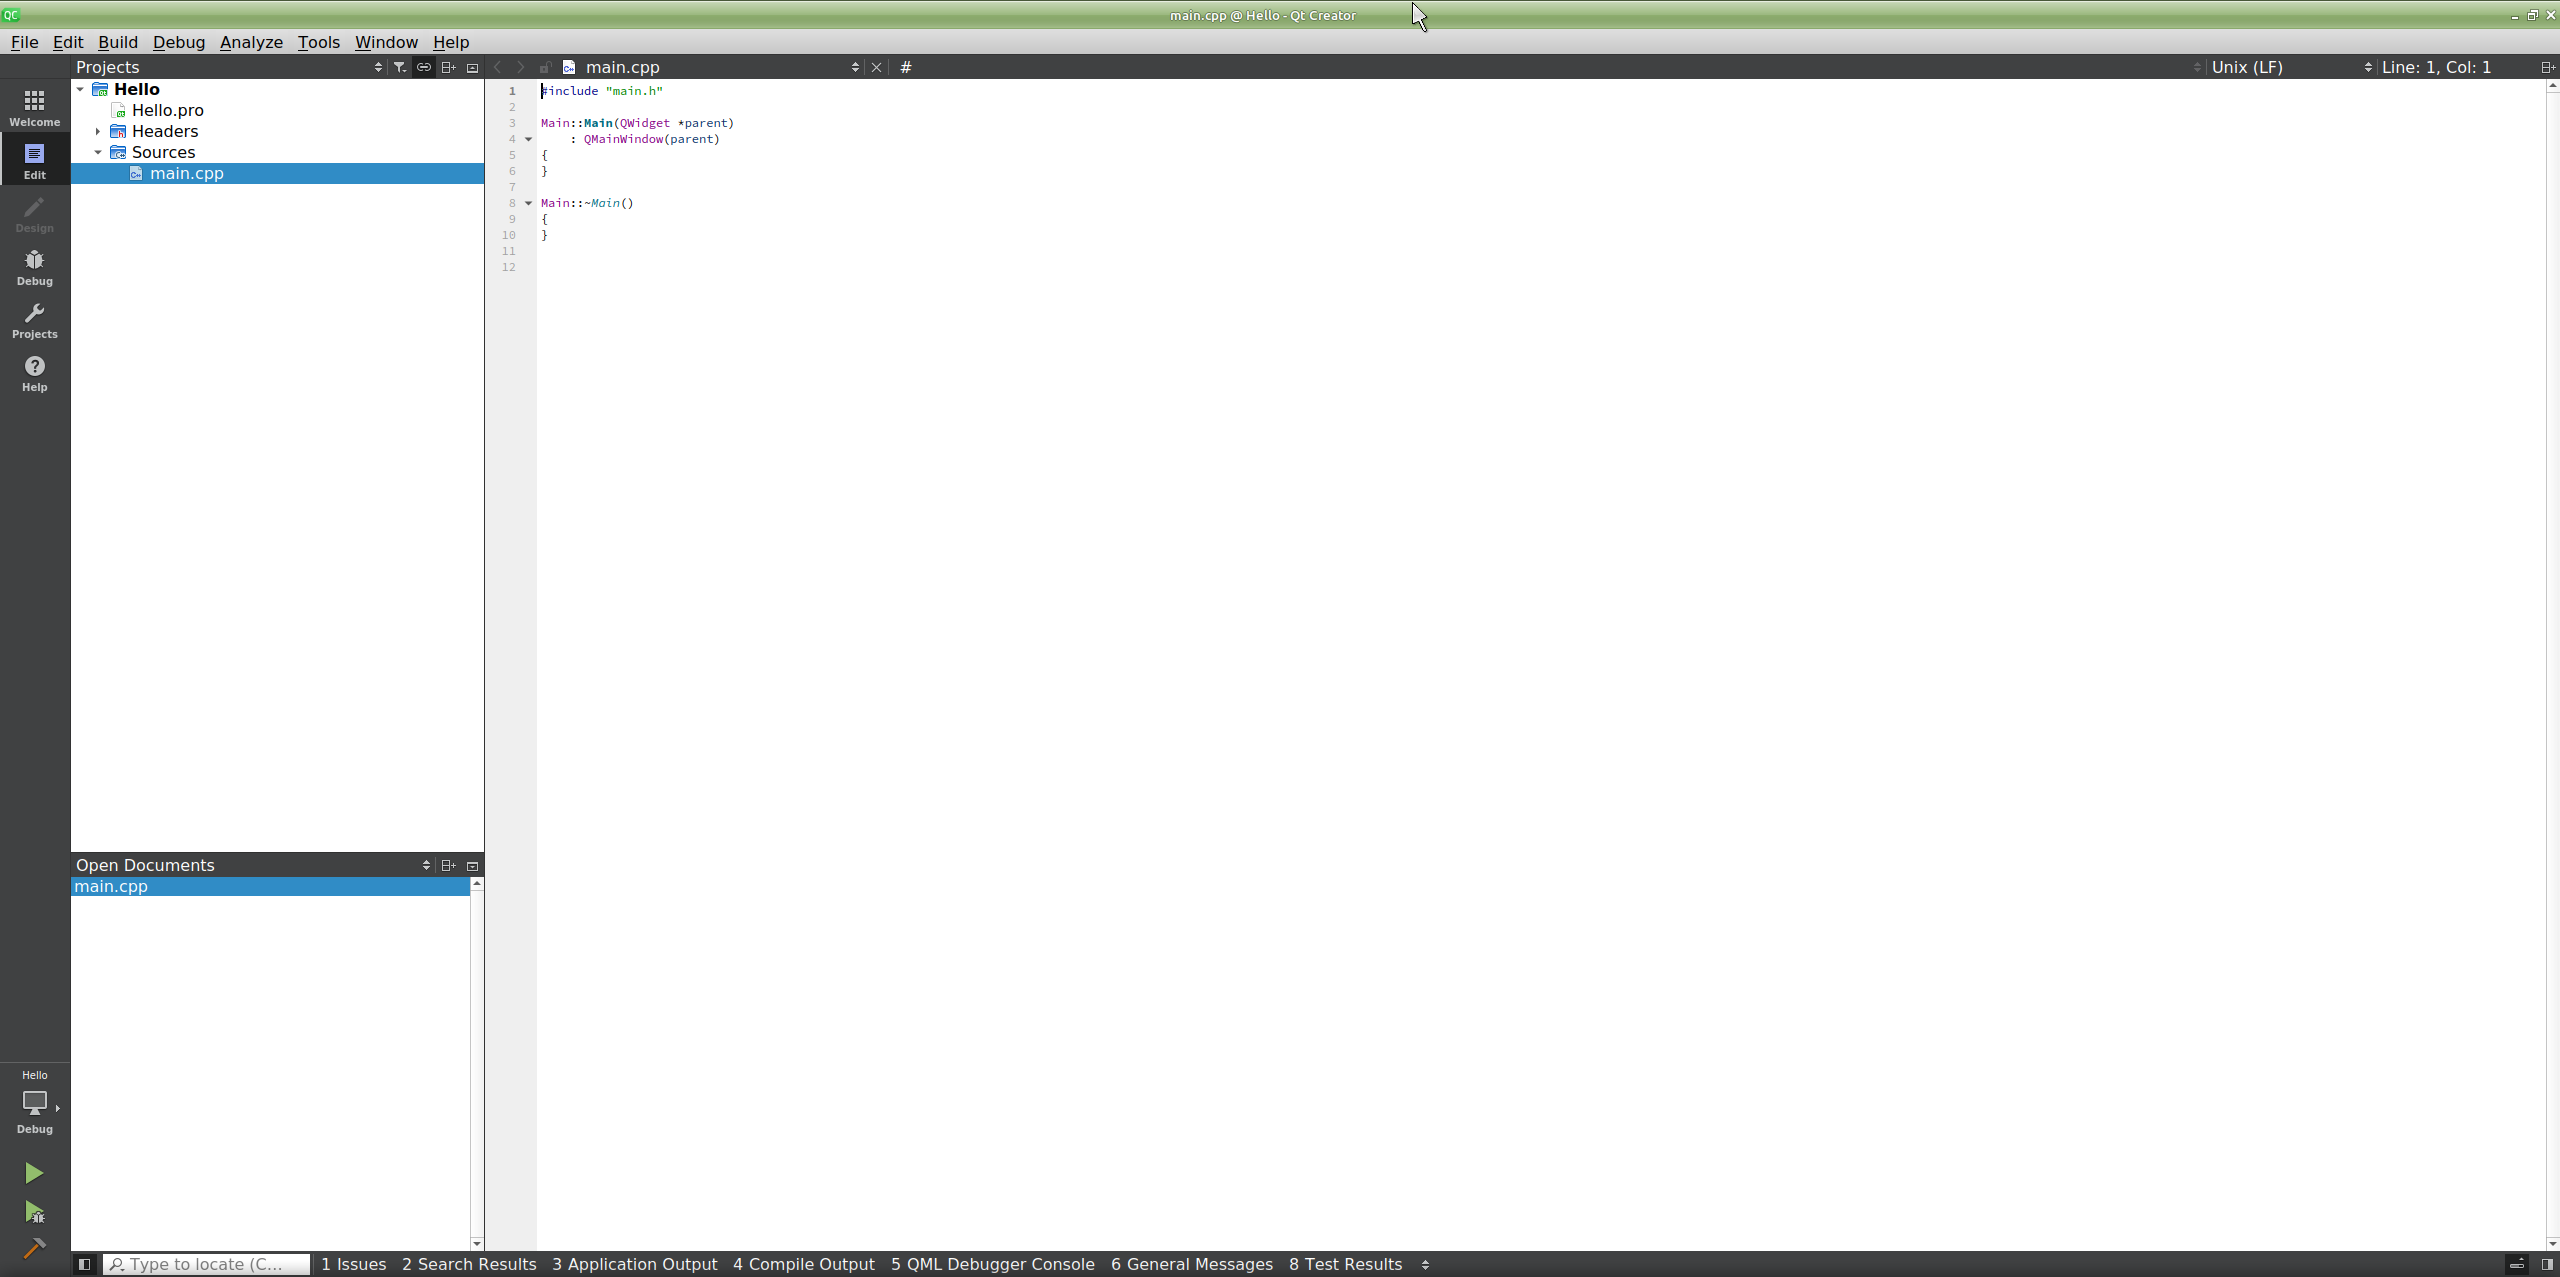
- The new project opens.
- Delete the main.h file:
- Expand the Headers folder.
- Right-click main.h and select Remove.
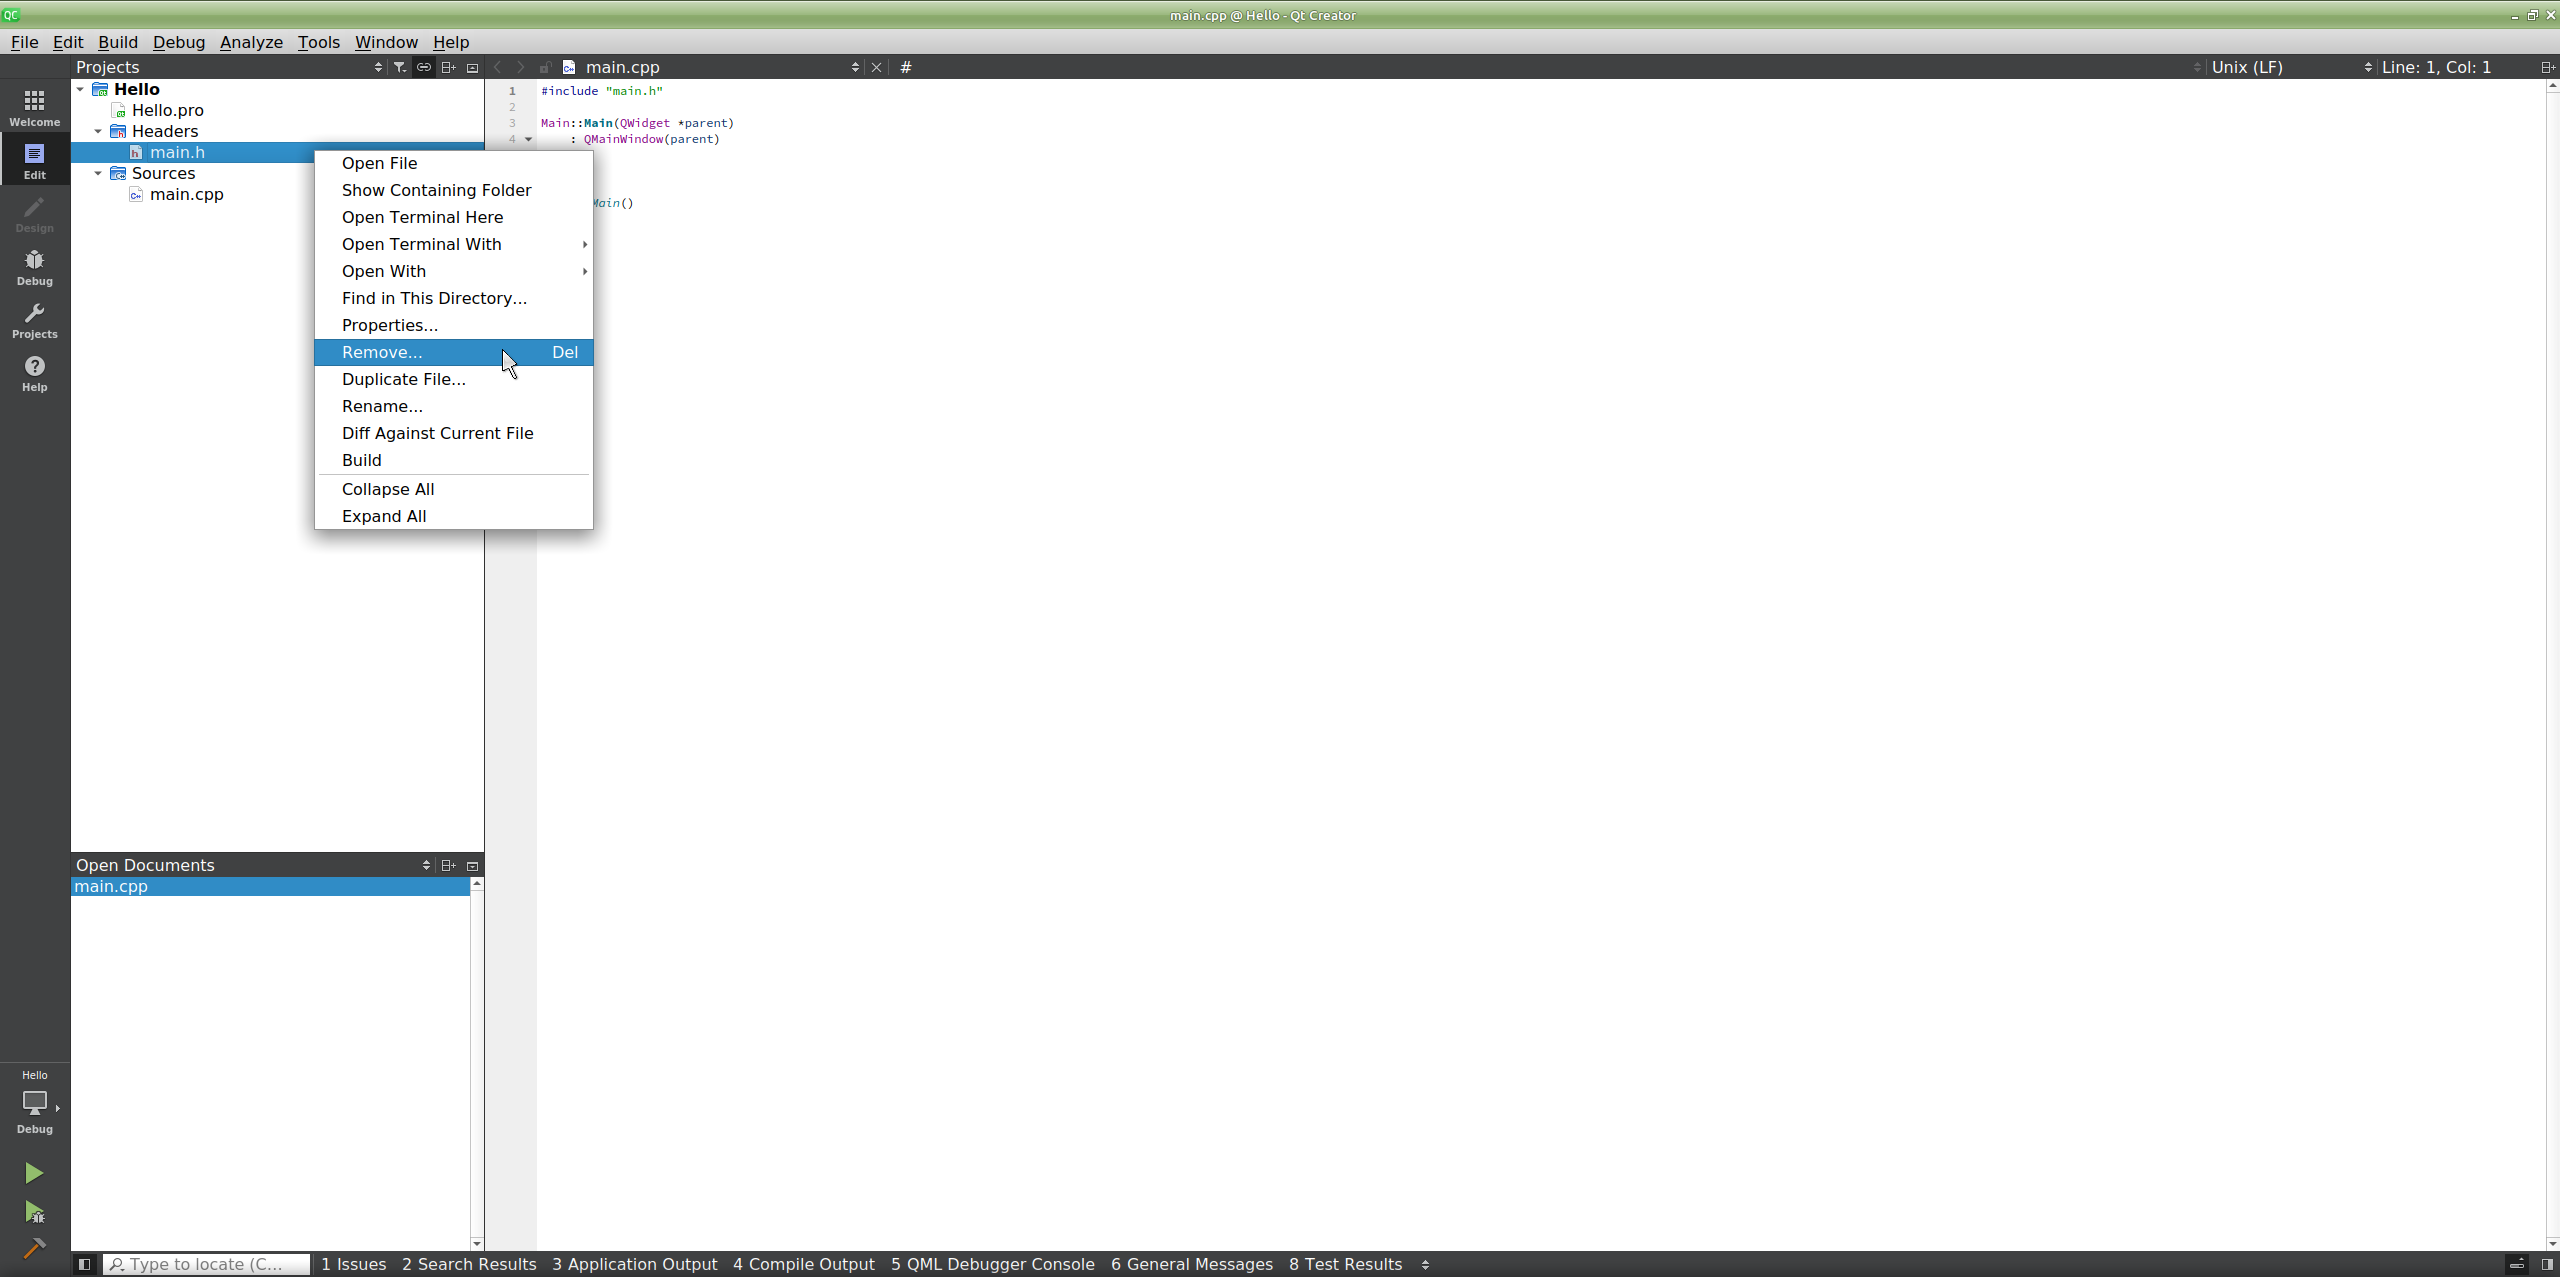
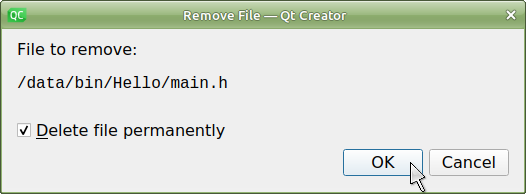
-
- Check Delete file permanently and click OK.
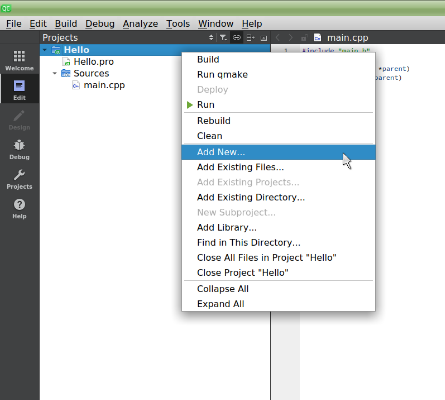
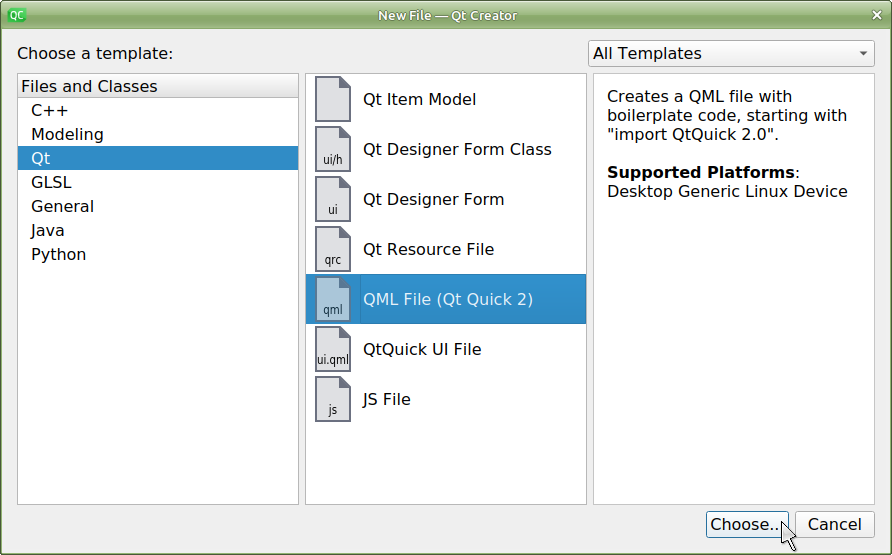
- Create a QML source file.
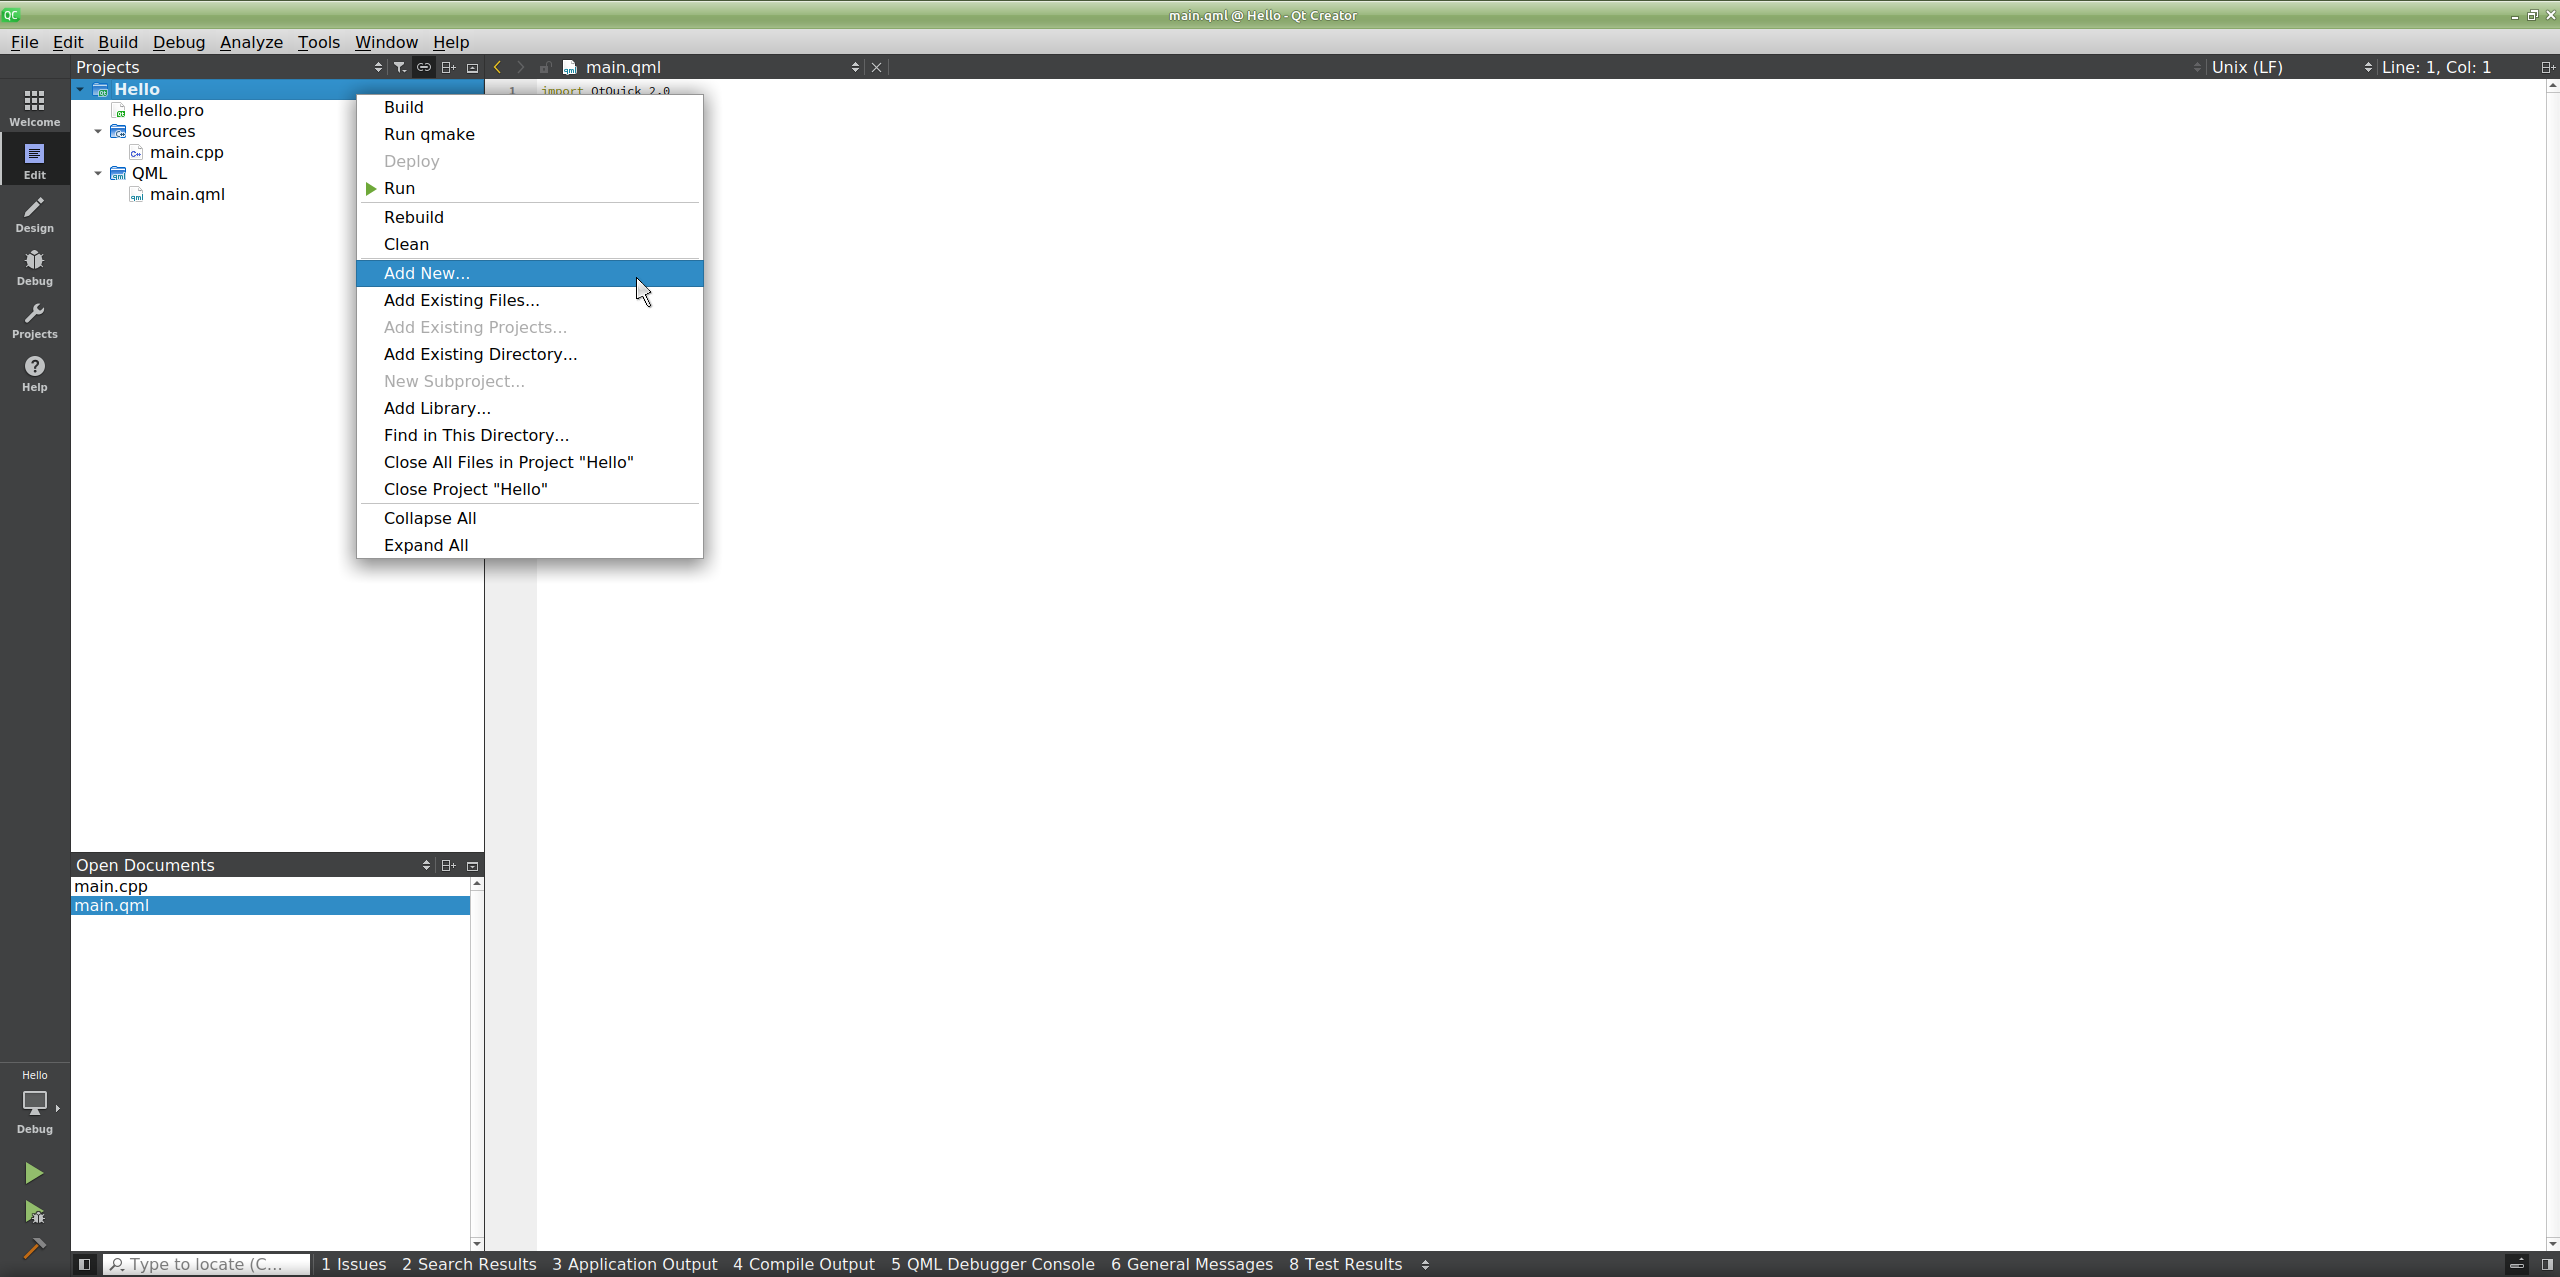
- Right-click the project folder and select Add New.
- Select Qt -> QML File (Qt Quick 2), then click Choose….
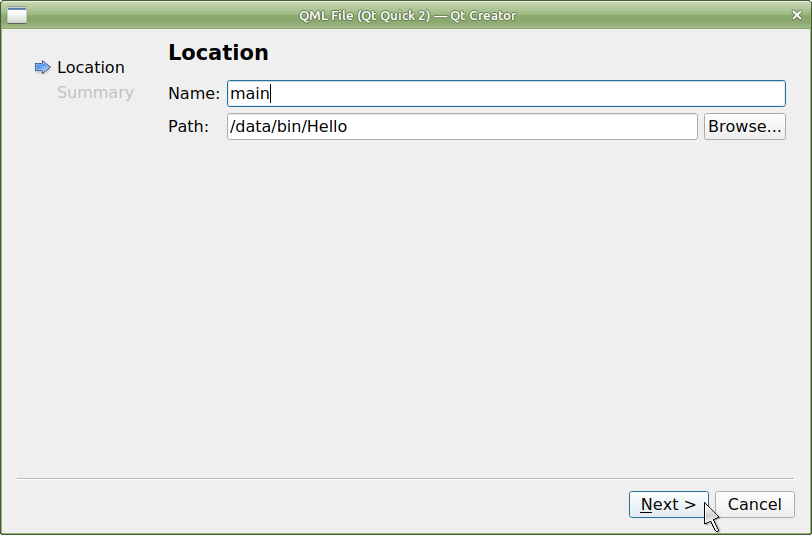
- Name the file, set the path, then click Next.
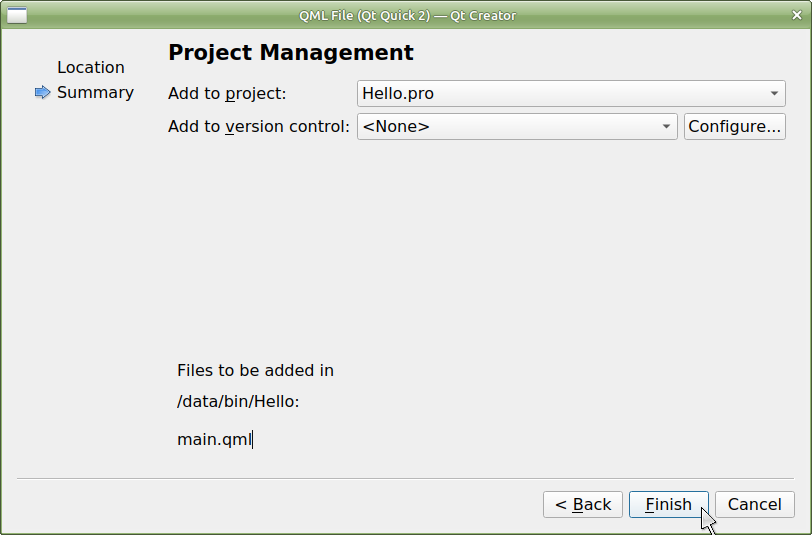
- Add the file to your project… click Finish.
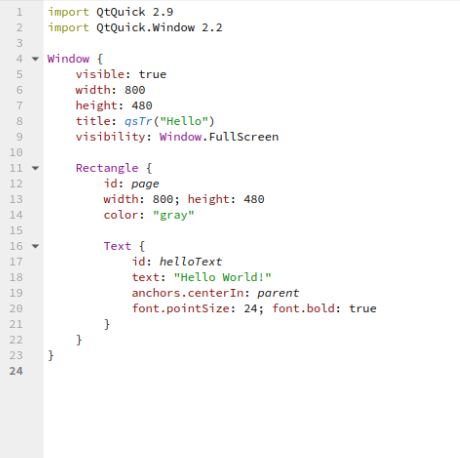
- Edit the main.qml file:
-
- Double-click main.qml to open it in the editor.
- Replace the auto-generated code with the following…
Note: Replace the width and height numbers shown with the screen resolution values of your G3 module.
- Create a QRC file:
- Right-click the project folder and select Add New.
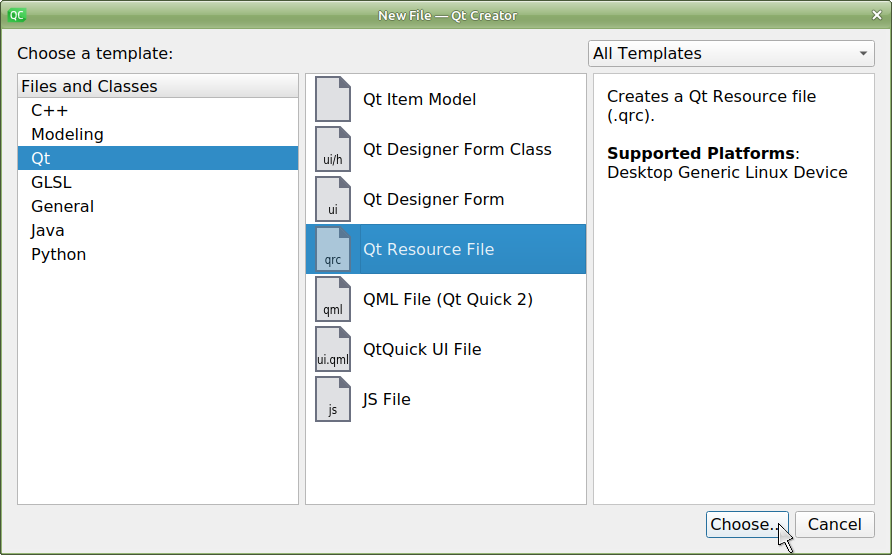
- Select Qt -> Qt Resource File, then click Choose….
-
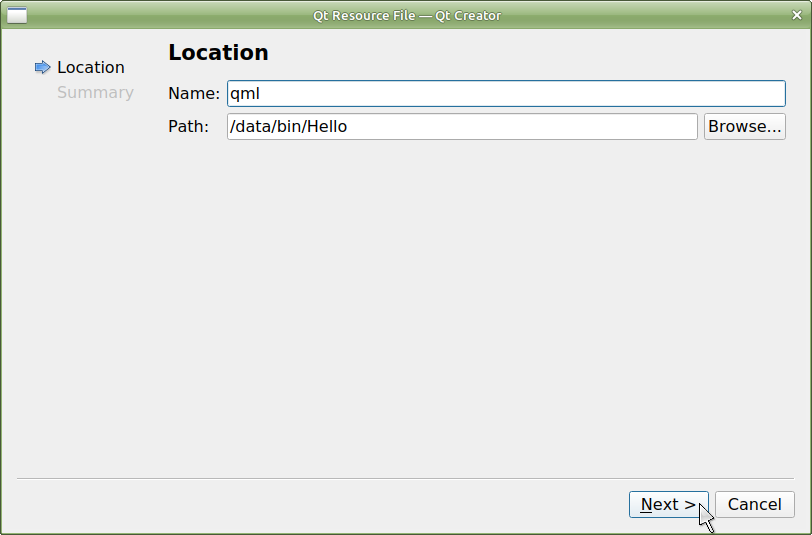
- Name the file, set the path then click Next.
- Add the file to your project… click Finish.

- Name the file, set the path then click Next.
- Set the qml.qrc file properties:
- Click Add Prefix, and enter a “/” character in the Prefix: text box.
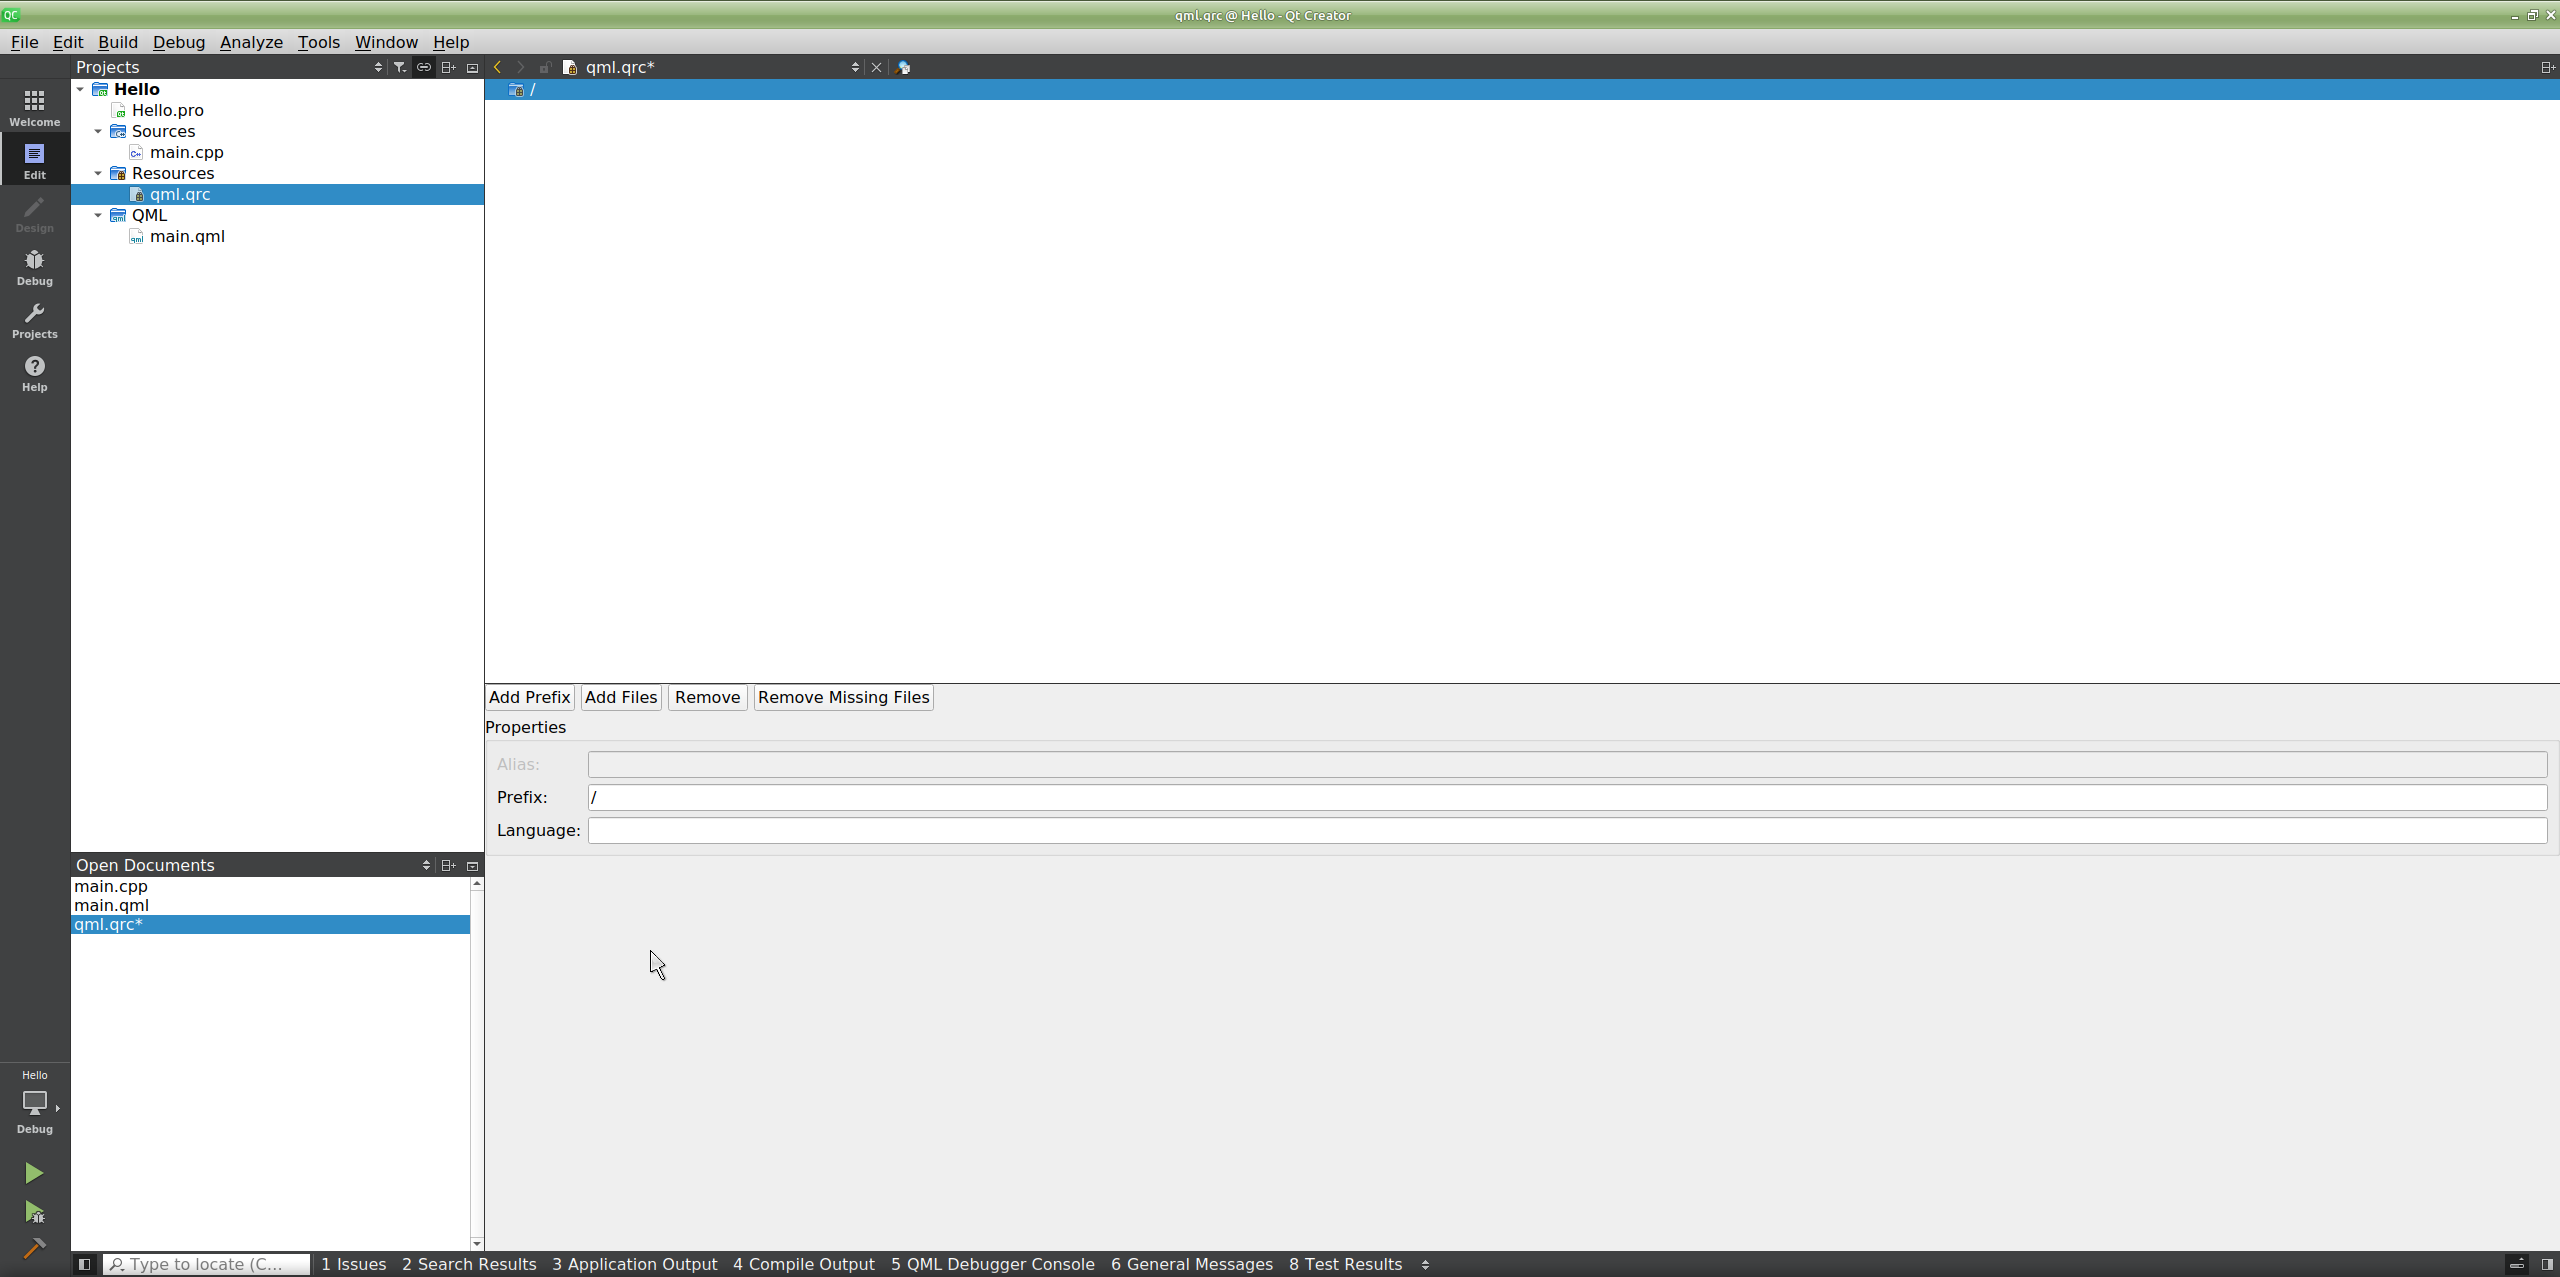
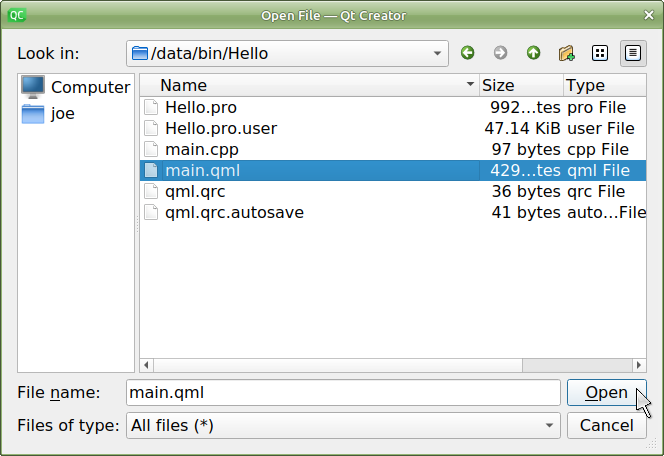
- Click Add Files, pick your main.qml file, then click Open.
- Click Add Prefix, and enter a “/” character in the Prefix: text box.
- Edit the main.cpp file:
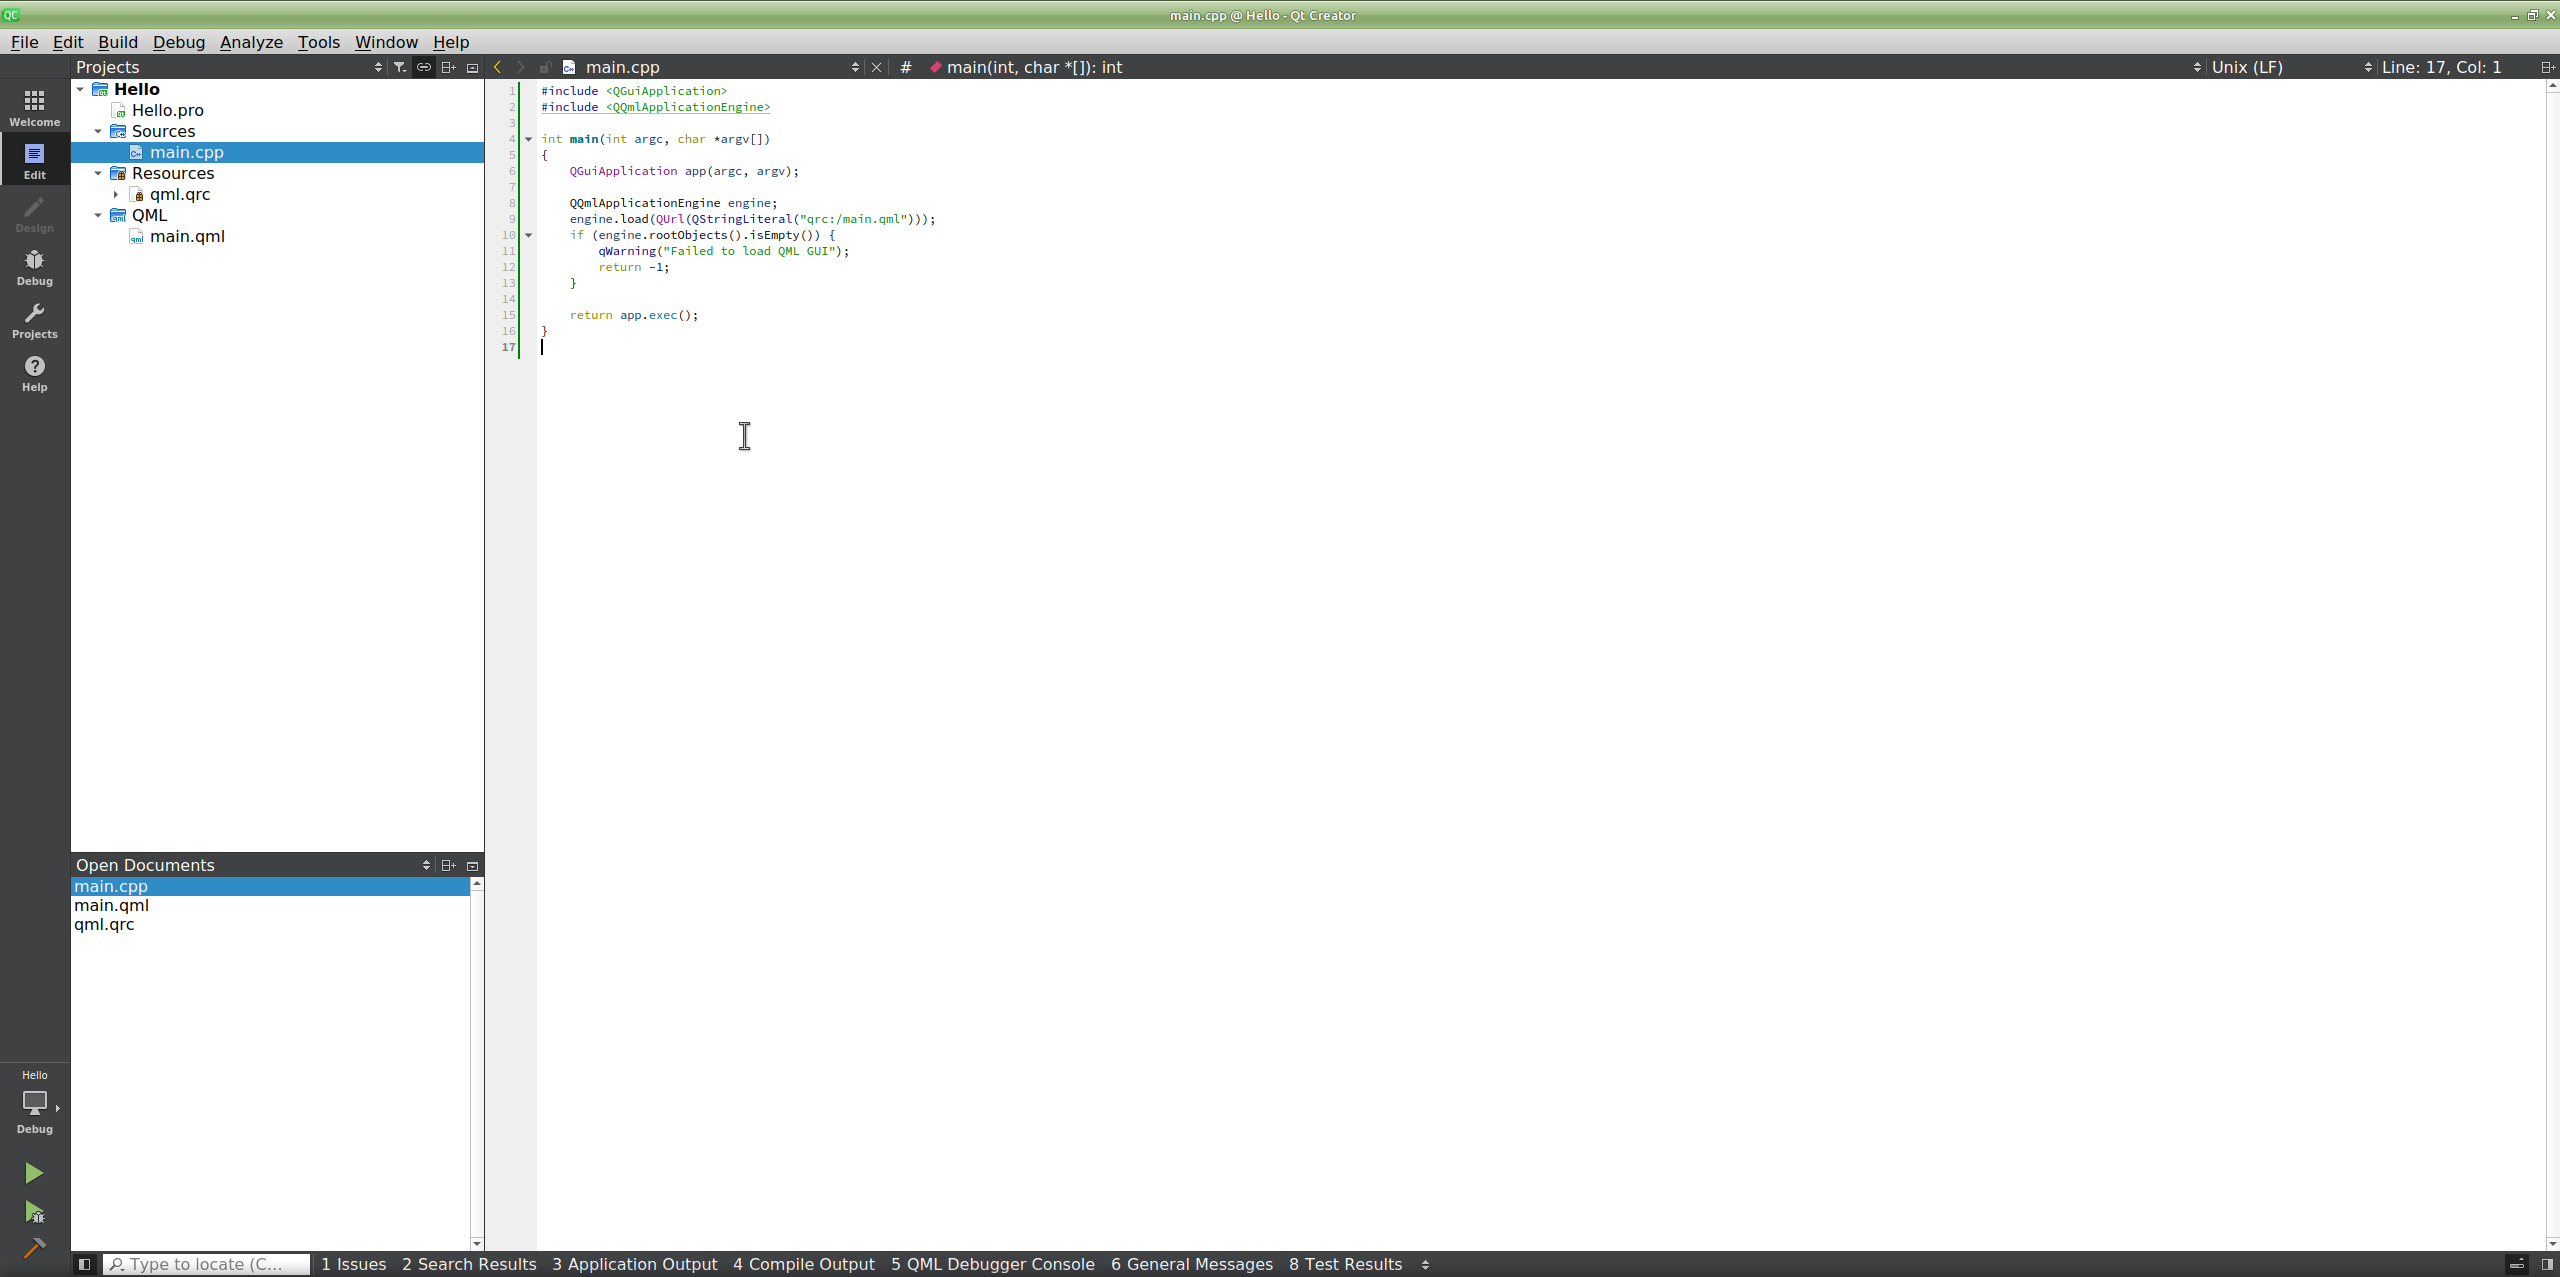
- Double-click main.cpp to open it in the editor.
- Replace the auto-generated code with the following…
- Edit the Hello.pro project file:
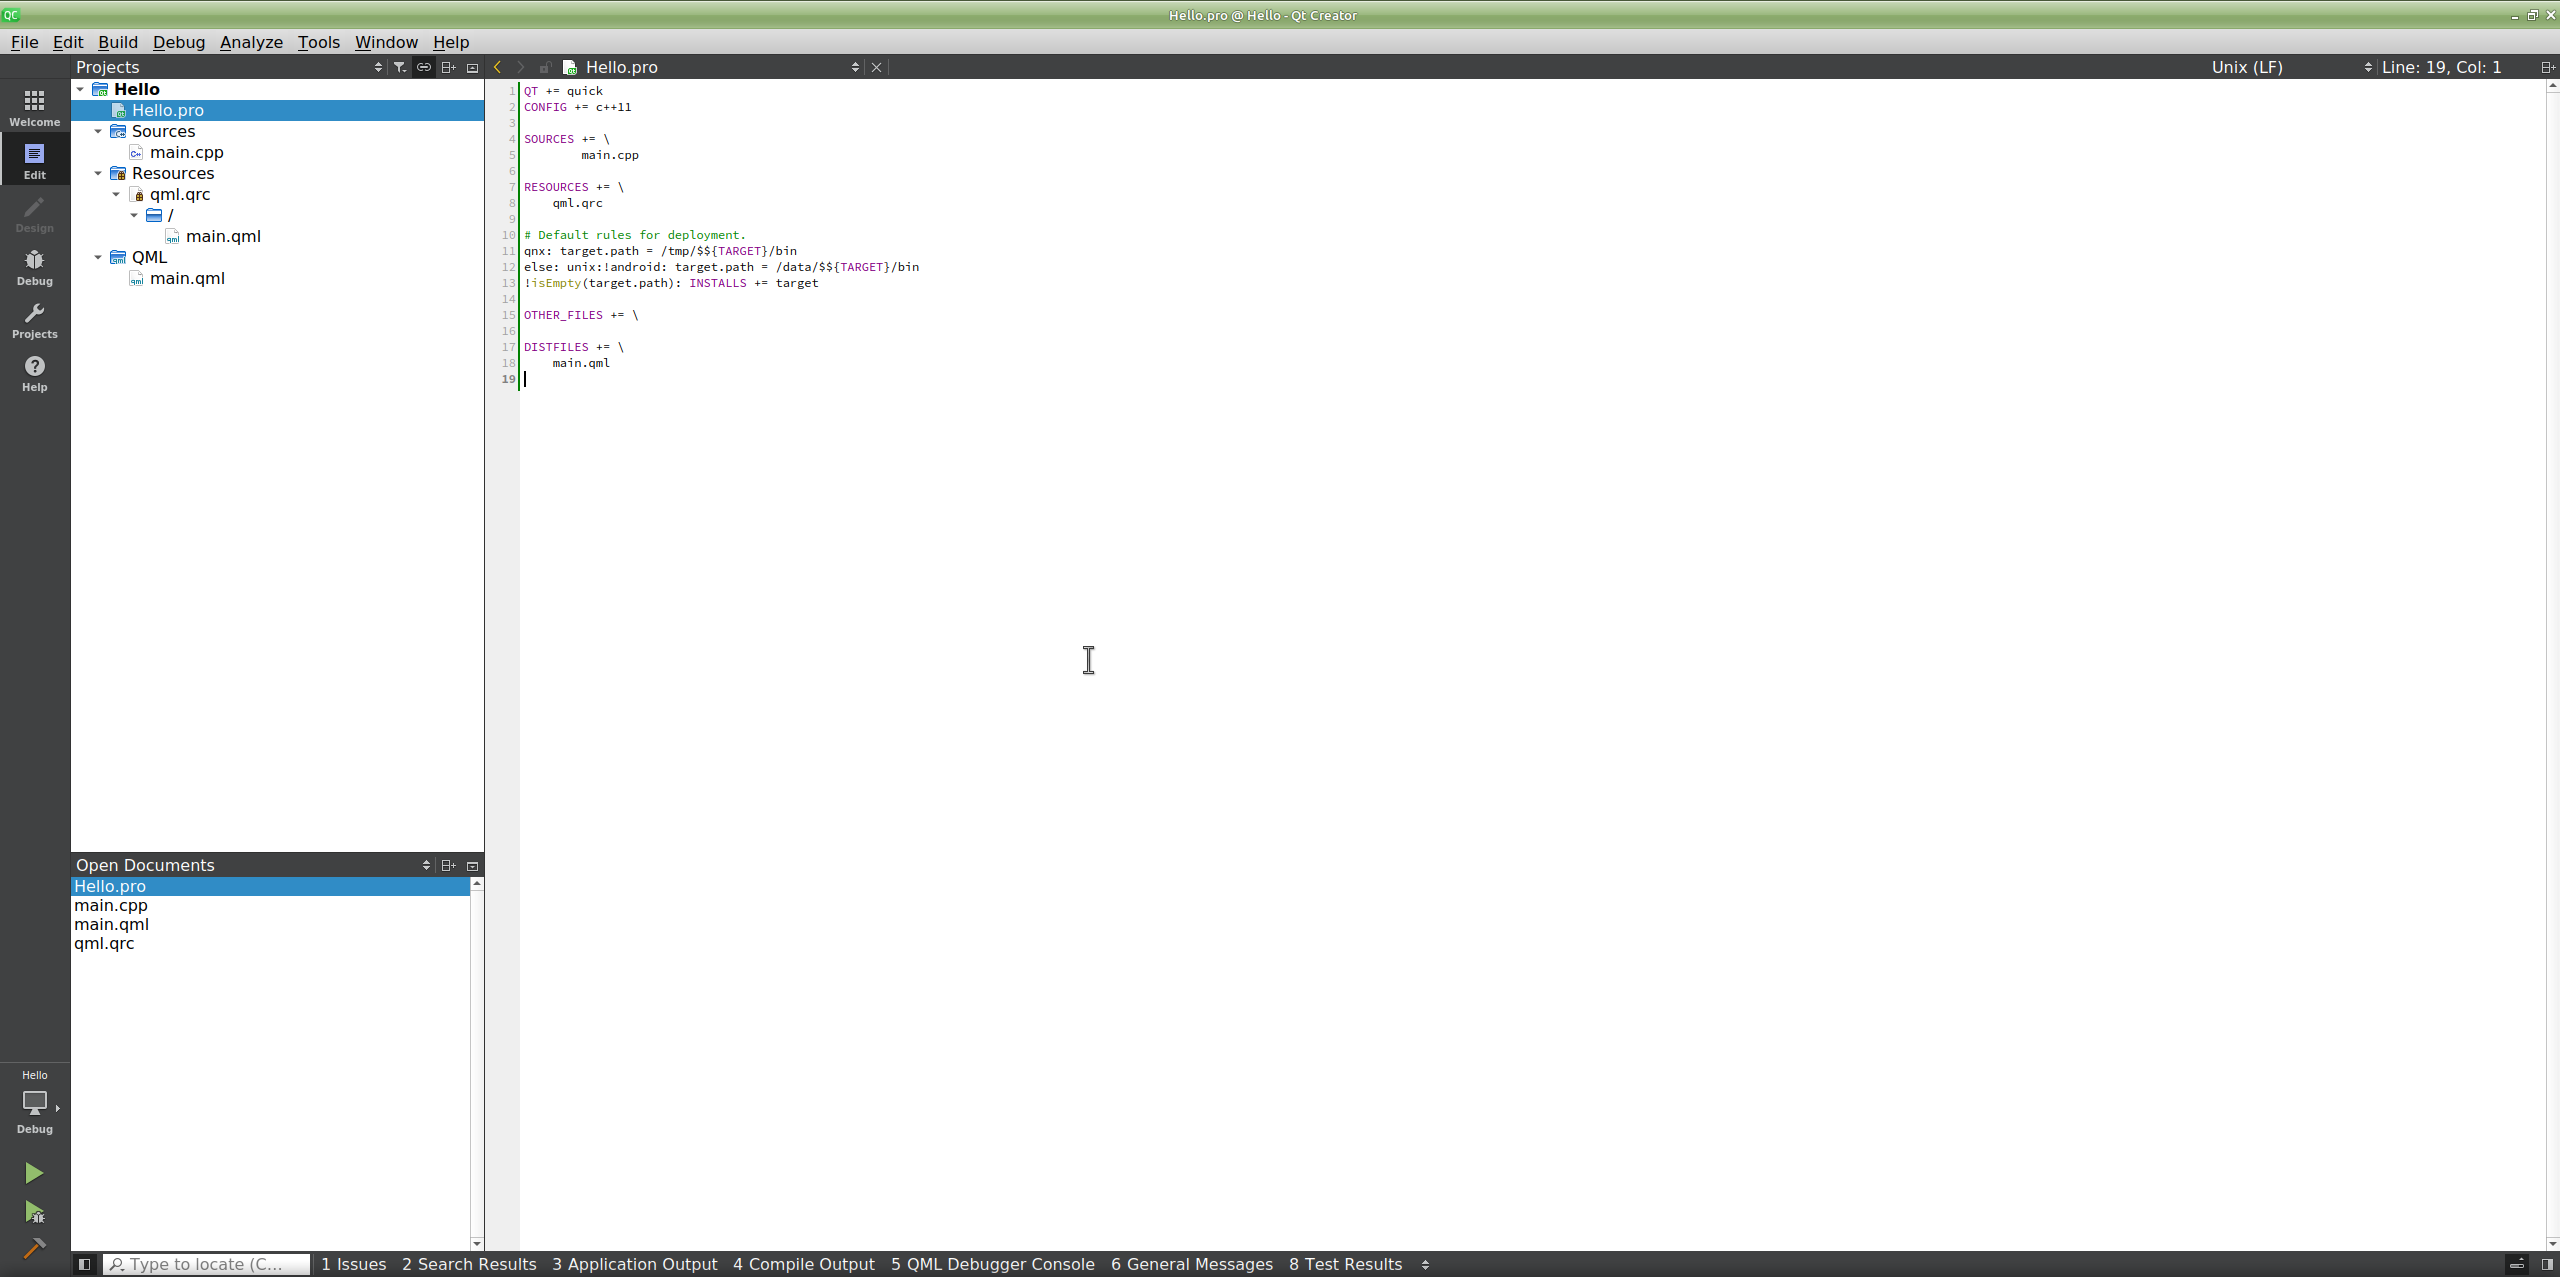
- Double-click “Hello.pro” to open it in the editor.
- Replace the auto-generated code with the following…
Deploy the Project to the G3 Module
- In the VM, open a Terminal to the G3 module using picocom:
- Open a terminal window.
- Enter the command
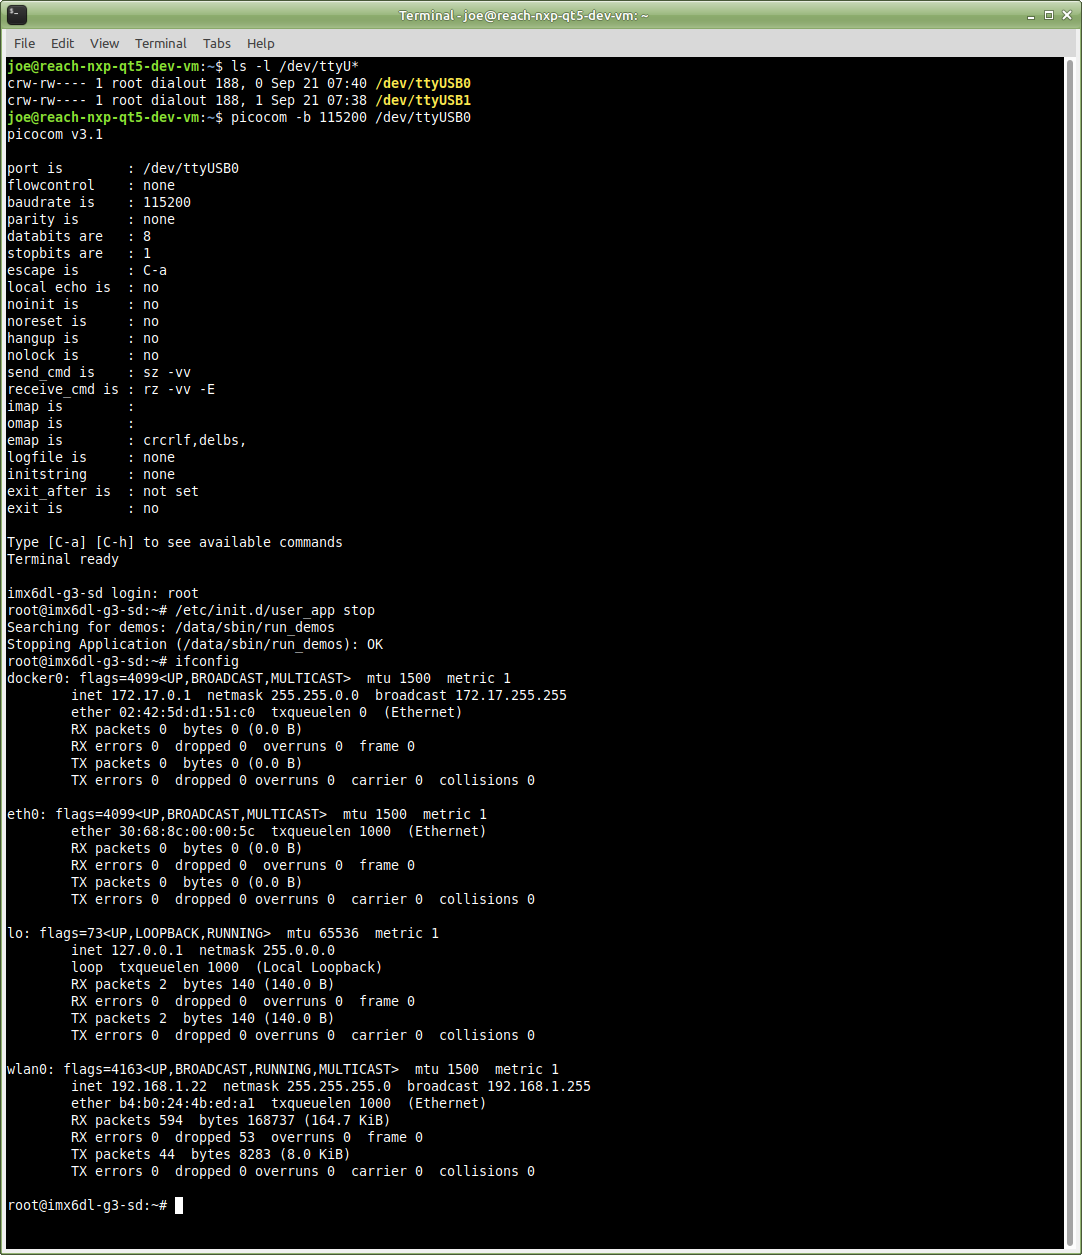
ls -l /dev/ttyU*.
Assuming you set the USB Device Filters correctly when you installed the VM, you should see /dev/ttyUSB0 and /dev/ttyUSB1 in the output. These are the “COM” ports used to communicate with the G3 module.
-
- Enter
picocom -b 115200 /dev/ttyUSB0. - After picocom displays “Terminal ready”, press .
- If you now see a login prompt, you’re on the correct port for the Debug Interface.If not:
- Open a second terminal window.
- Enter
picocom -b 115200 /dev/ttyUSB1. - After picocom displays “Terminal ready”, press .
- If you now see a login prompt, you’re on the correct port for the Debug Interface.
- Log in as
root. There is no password.
- Enter
- Stop the currently running user application or demo… if one is running:
- Enter
/etc/init.d/user_app stop - Note: It is not harmful to run this command even if no user application or demo is running.
- Enter
- Determine the IP address of the module:
- Enter
ifconfigto display your system’s network interface information. The IP address you need is for interface eth0 if using Ethernet, and wlan0 if using WiFi. The IP address value will look something like “192.168.1.2” but yours will likely be different.
- Enter
- Set the IP address of the target (the G3 module) in Qt Creator:
- Go to Tools -> Options.
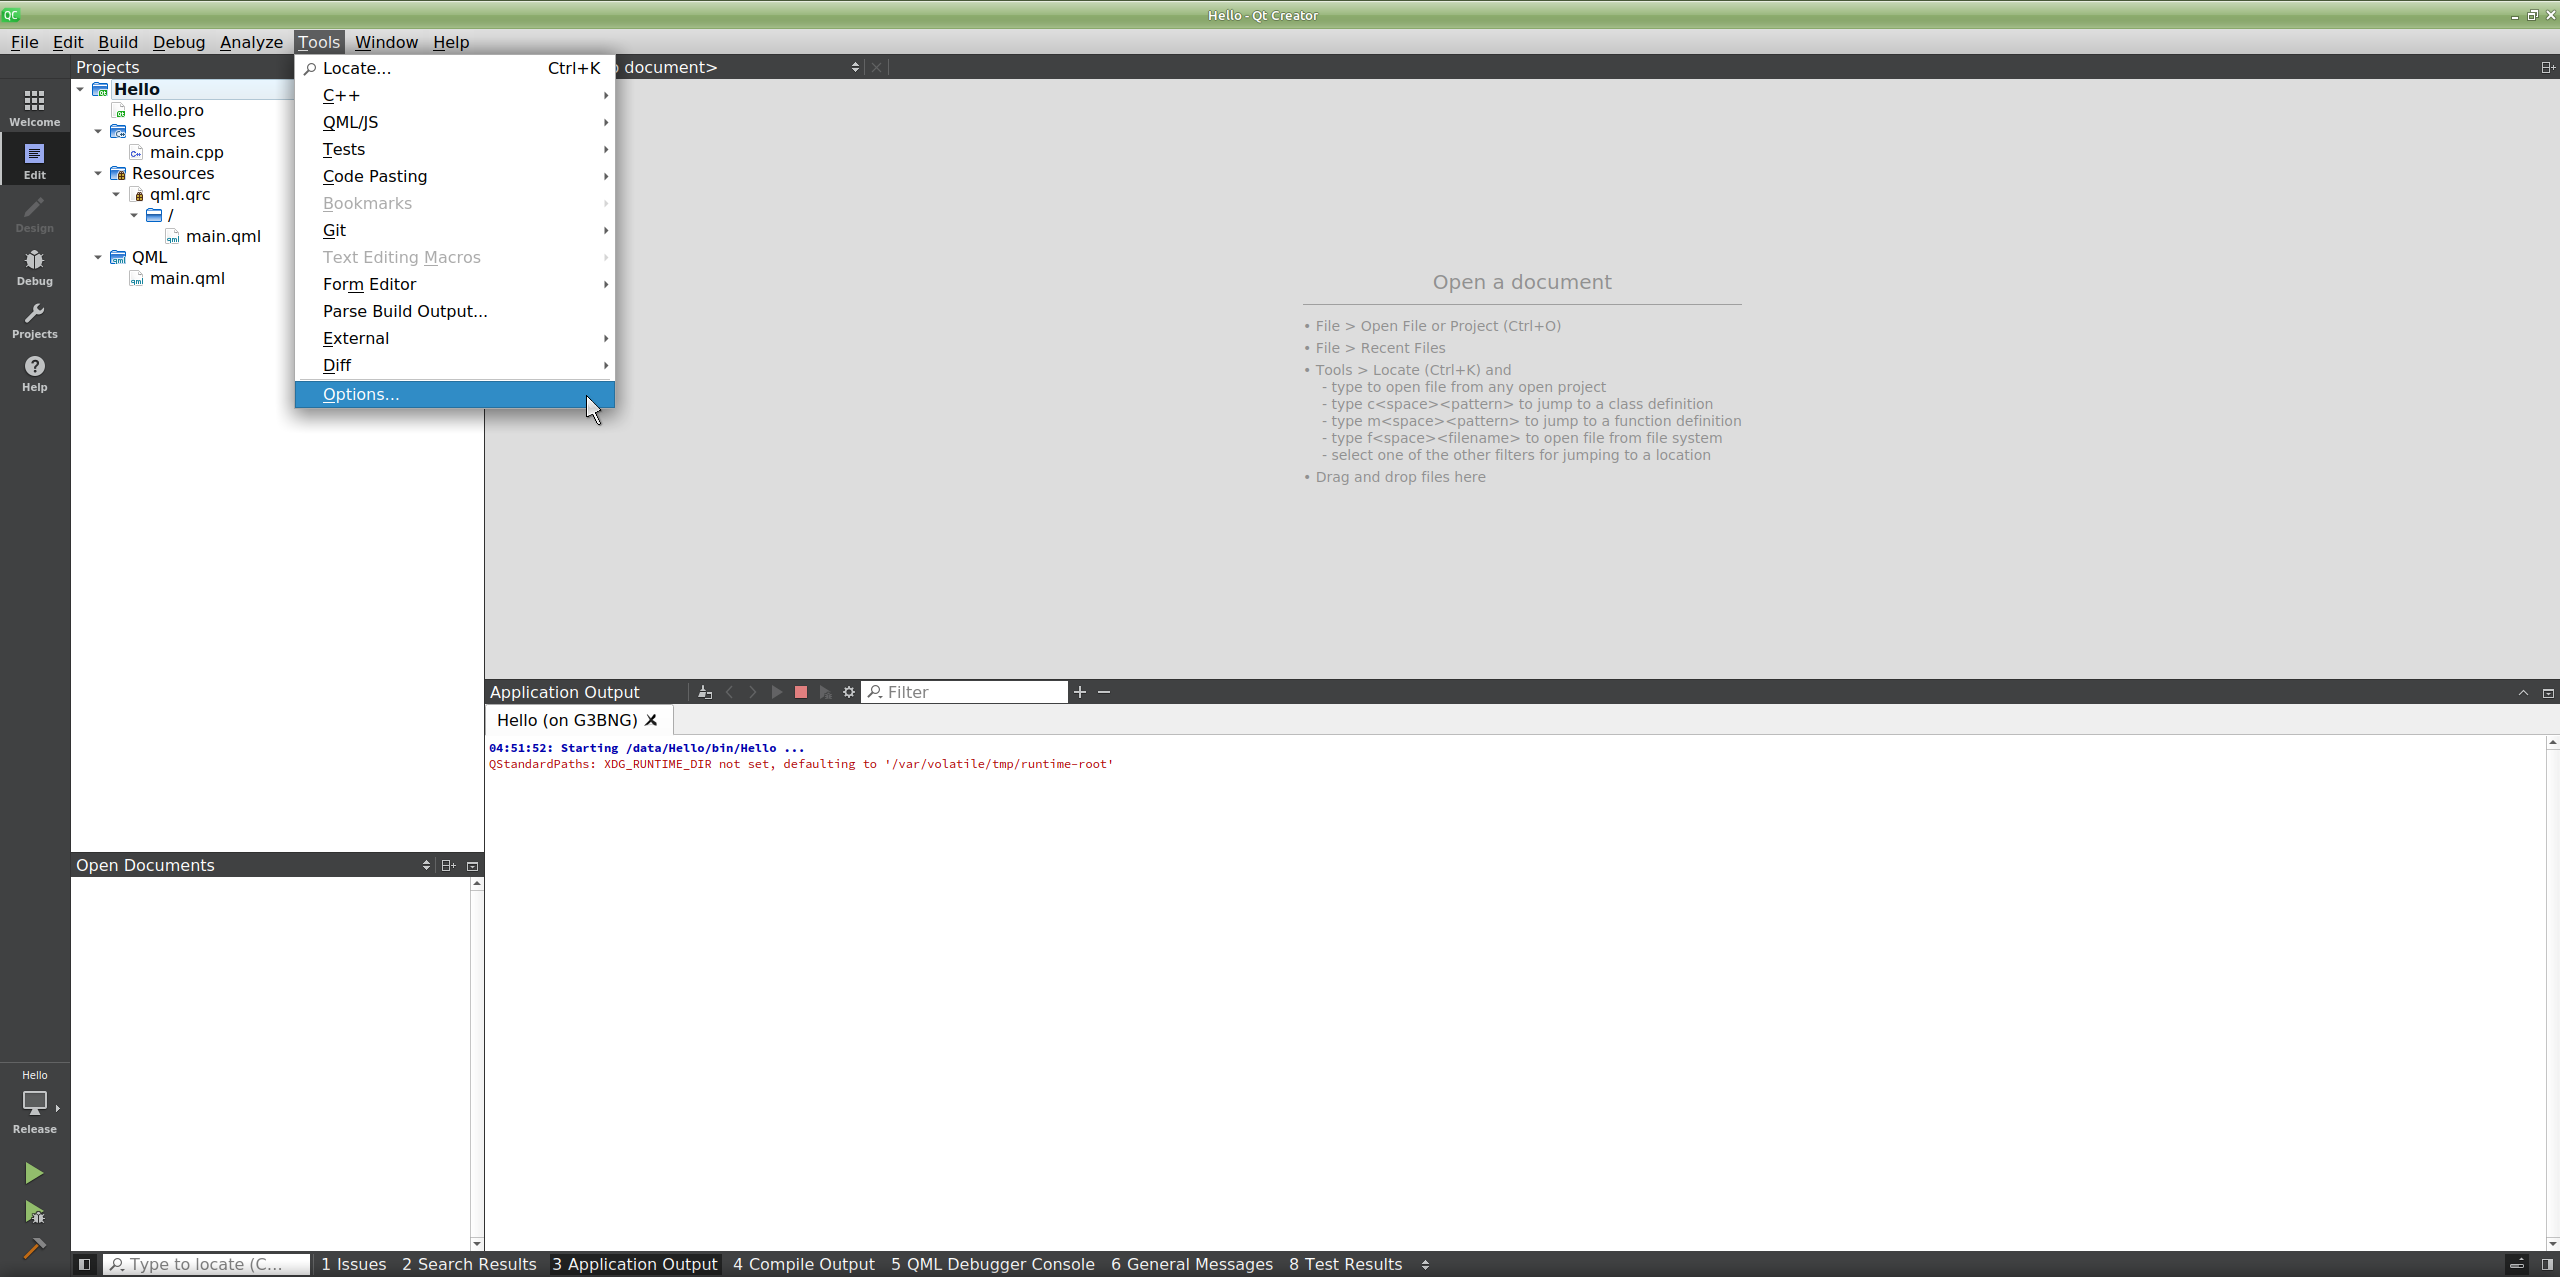
- Open the Devices tab.
- Enter the IP address for eth0 in the Host name text box.

- Click Apply then click OK.
- Go to Tools -> Options.
- Run the project:
- Click on the little terminal icon near the bottom of the left side toolbar to enter Deploy mode and verify that Yocto -> Release is selected.
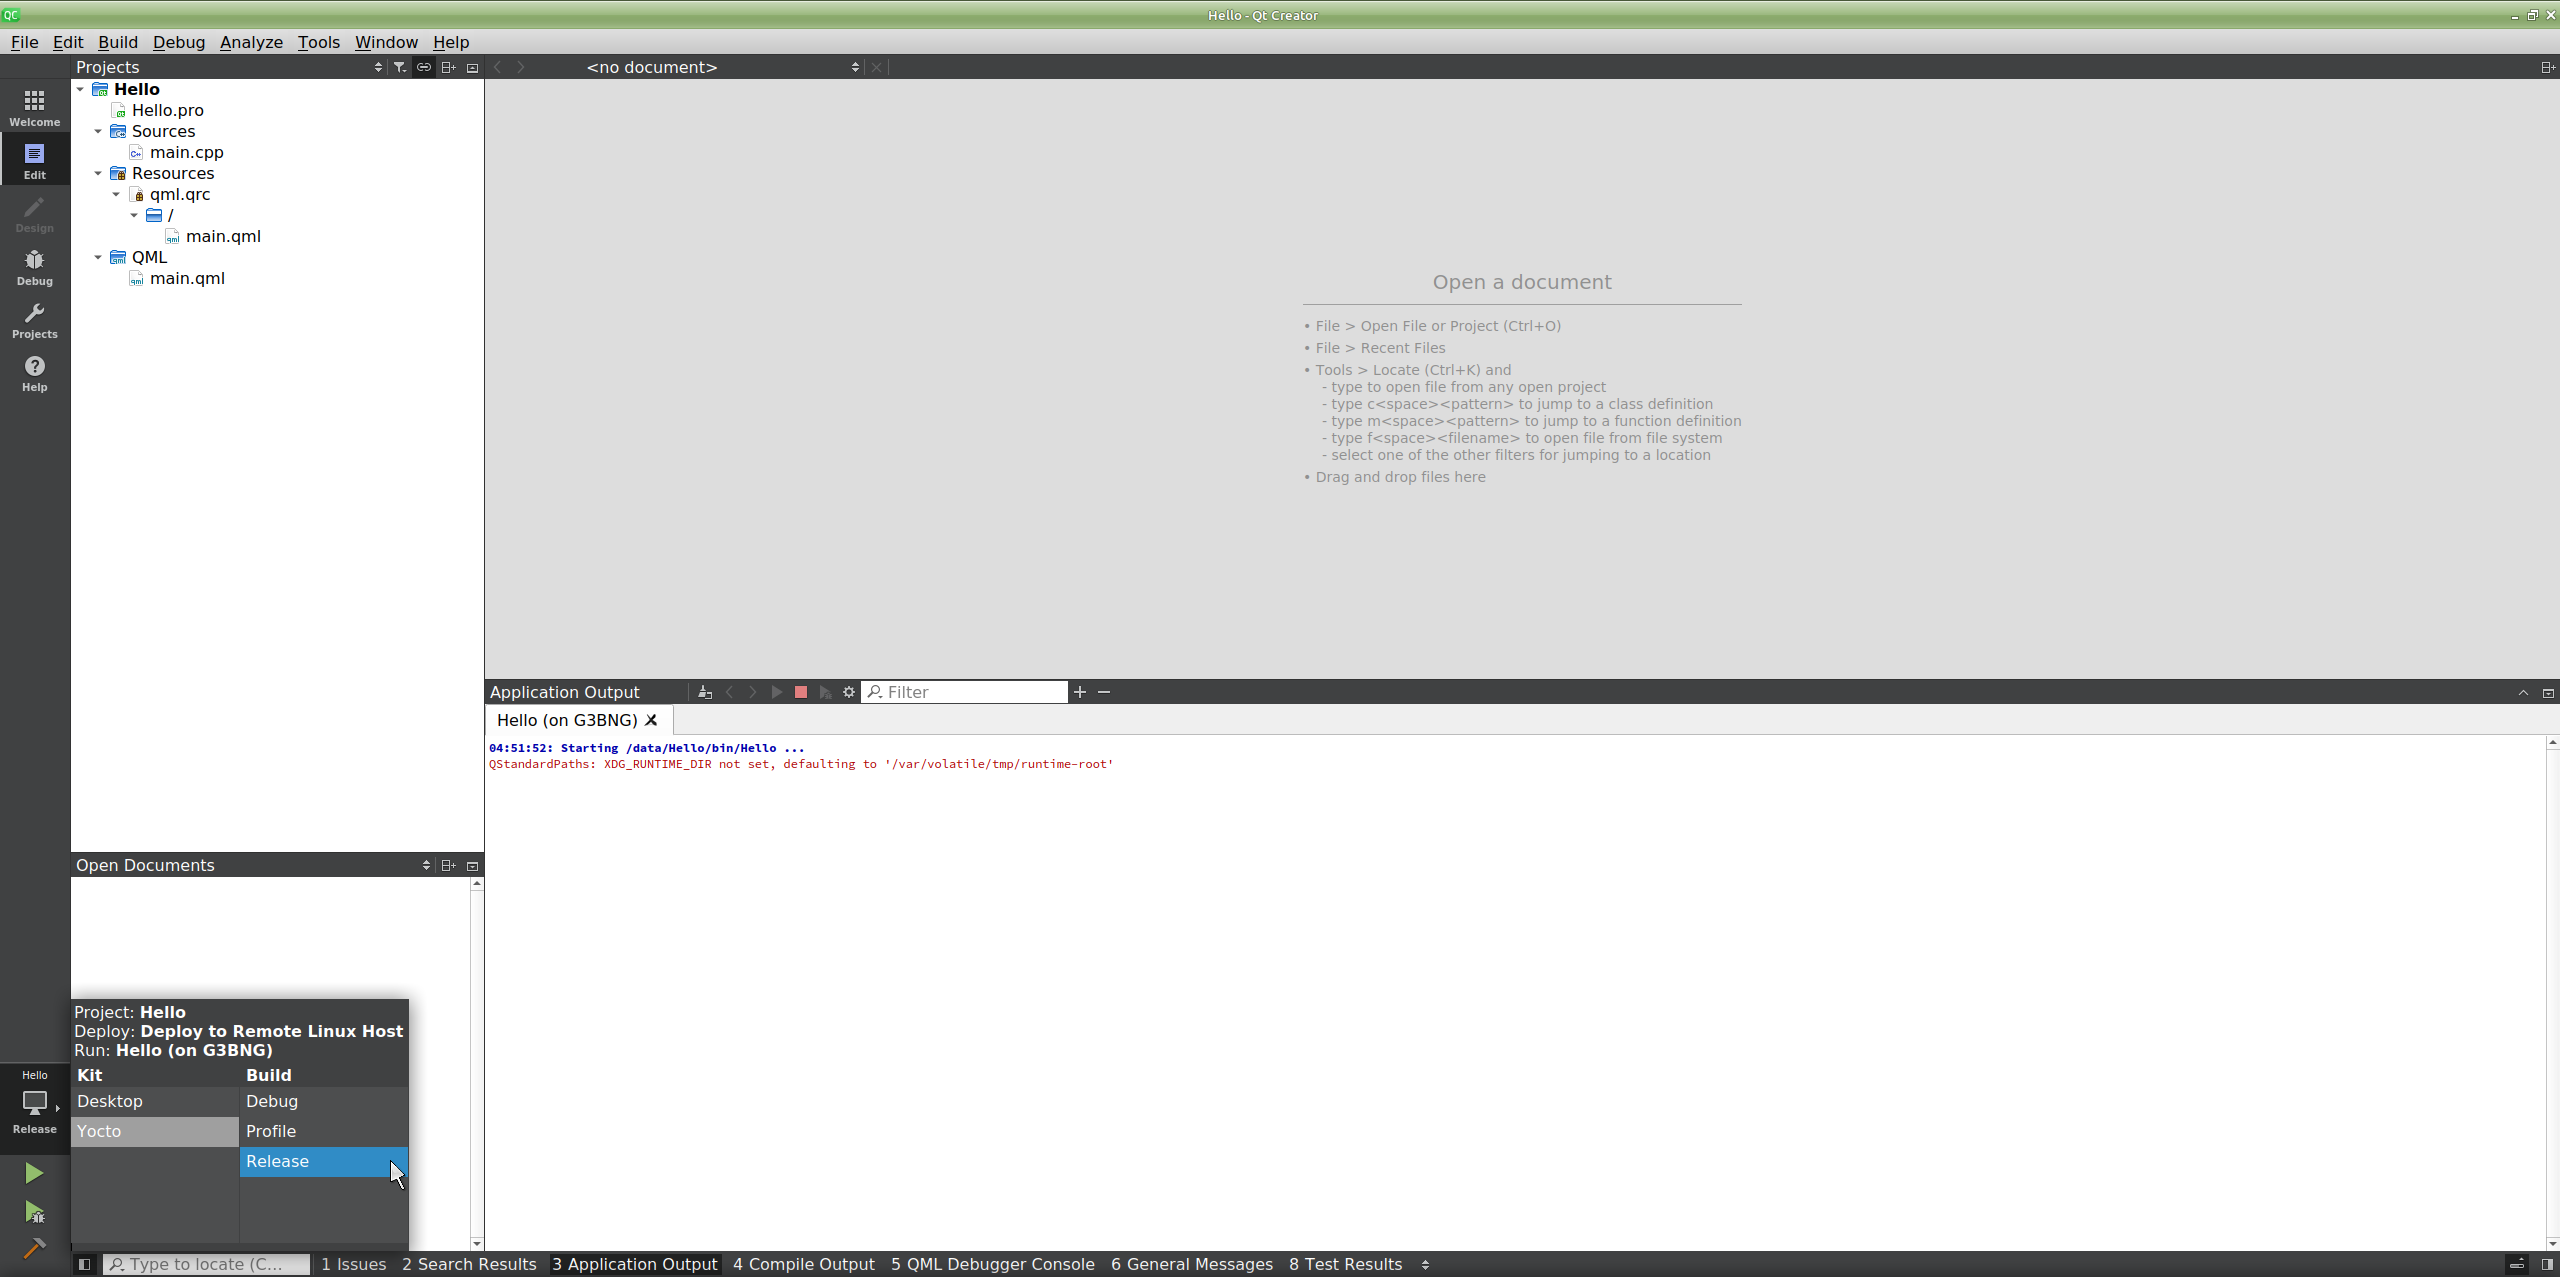
- Click Run (green arrow) to build and deploy the project to the G3 module.
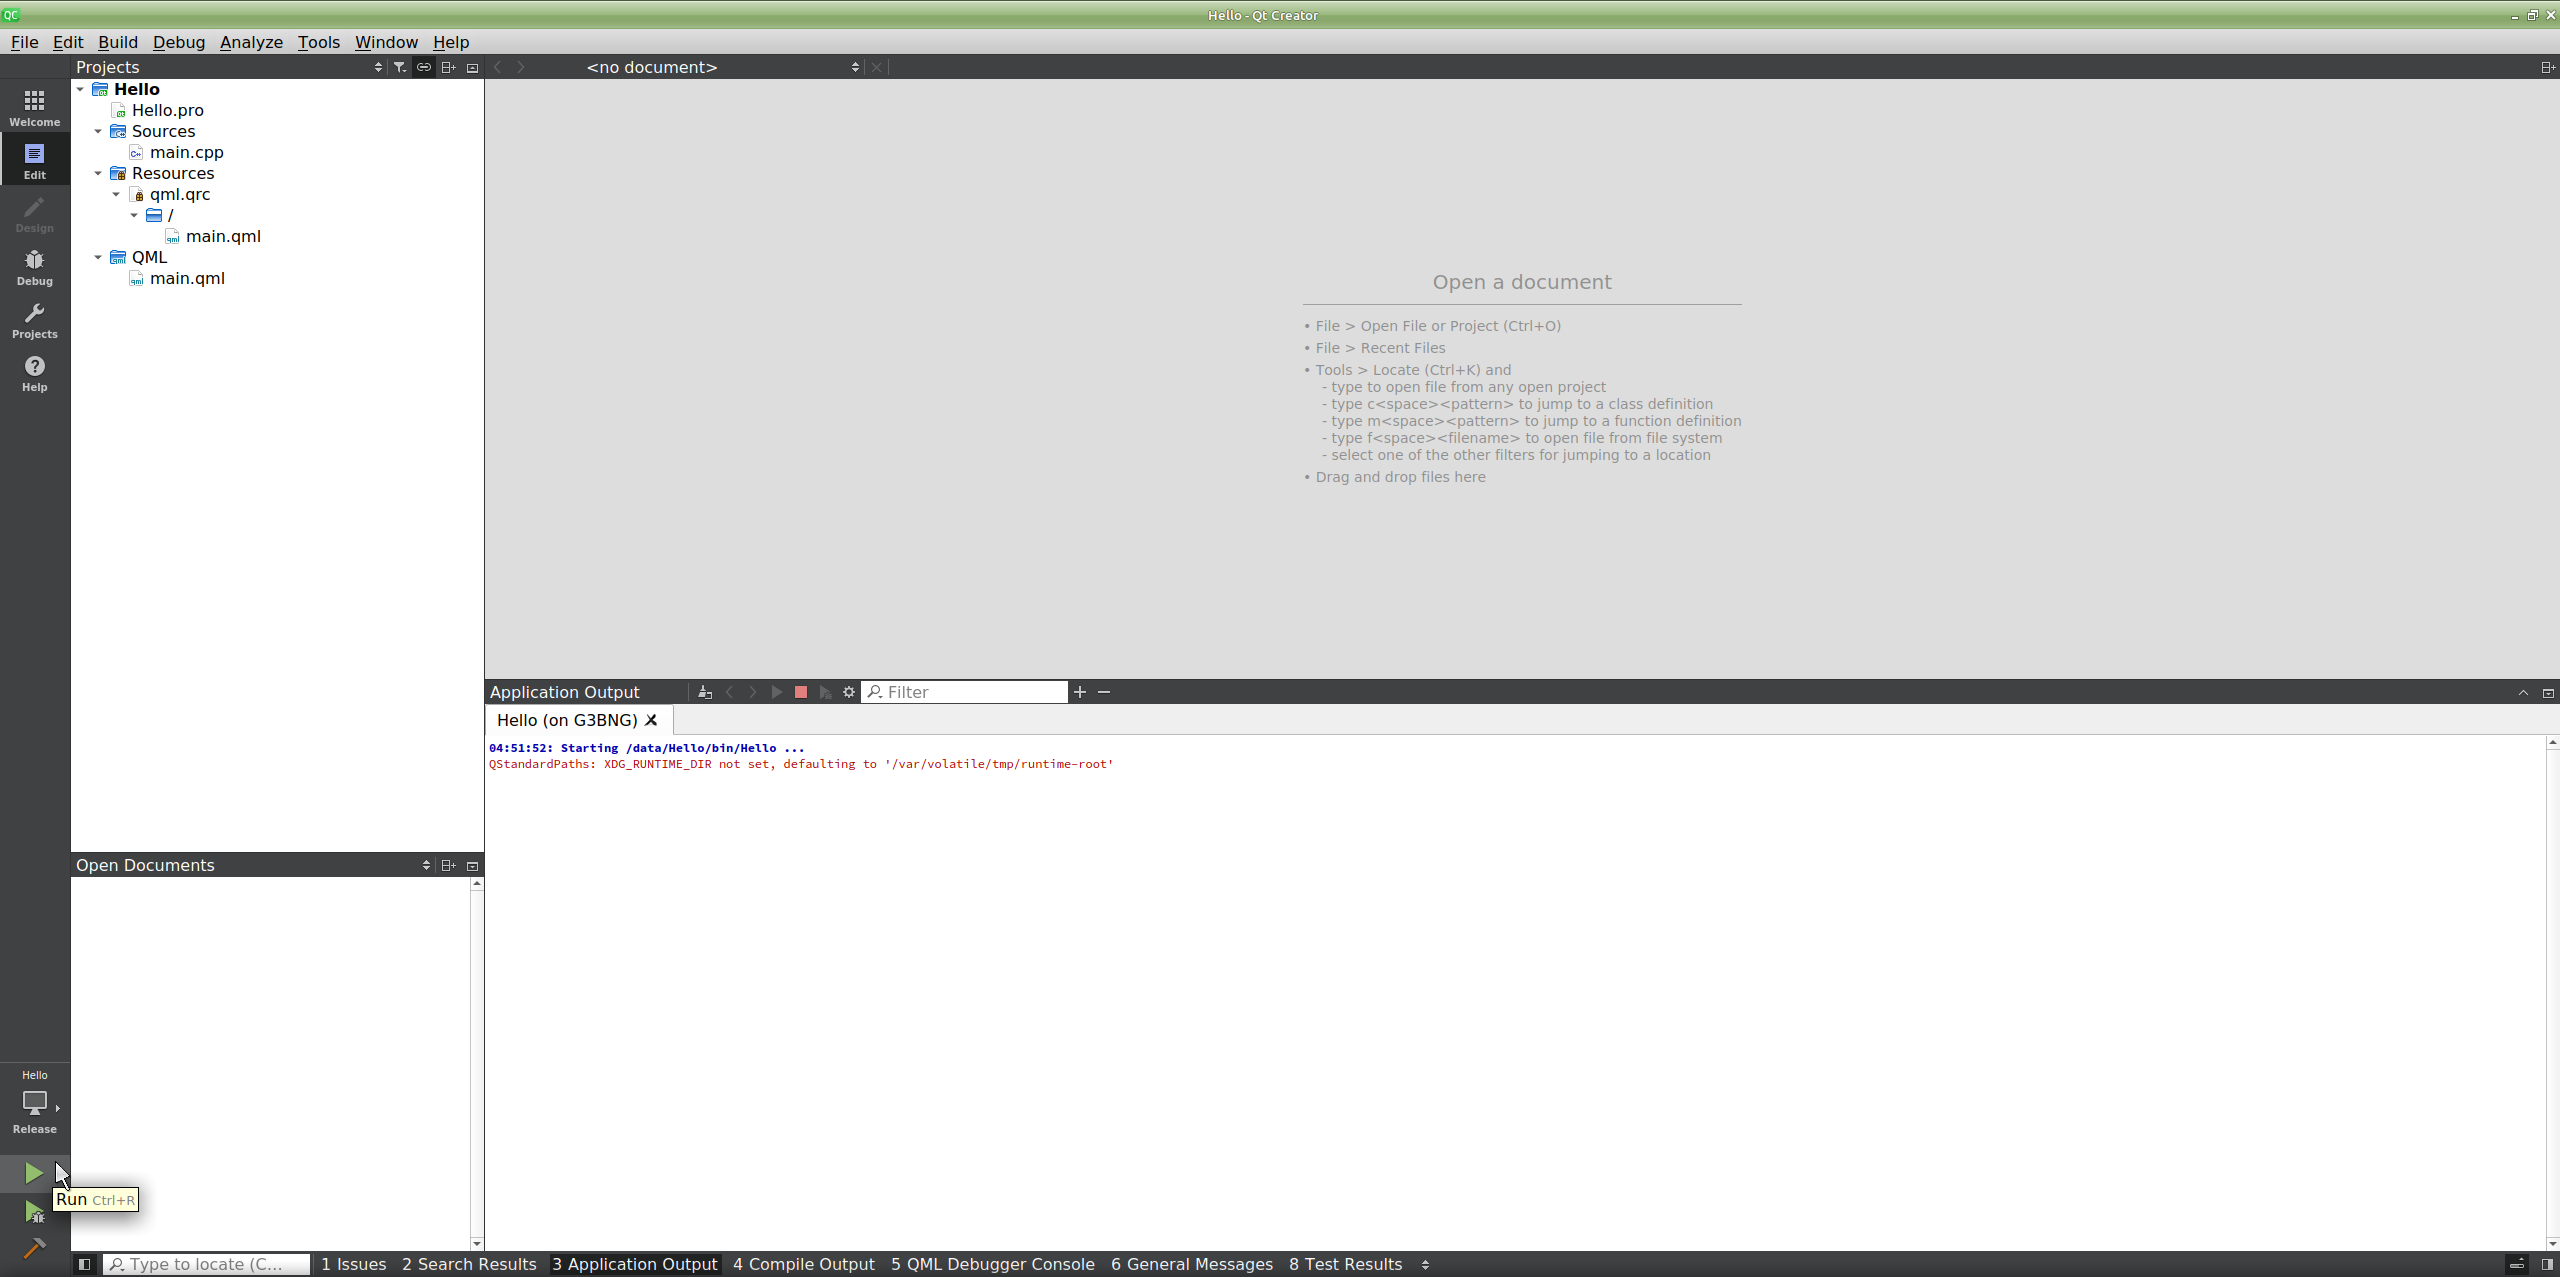
- You should now see “Hello World!” on the G3 module.

- Click on the little terminal icon near the bottom of the left side toolbar to enter Deploy mode and verify that Yocto -> Release is selected.
Find and Open a Sample Application of Interest
- Open Qt Creator.
- Go to the Examples section on the Welcome screen. Here you will find a list of sample applications provided by Qt authors.
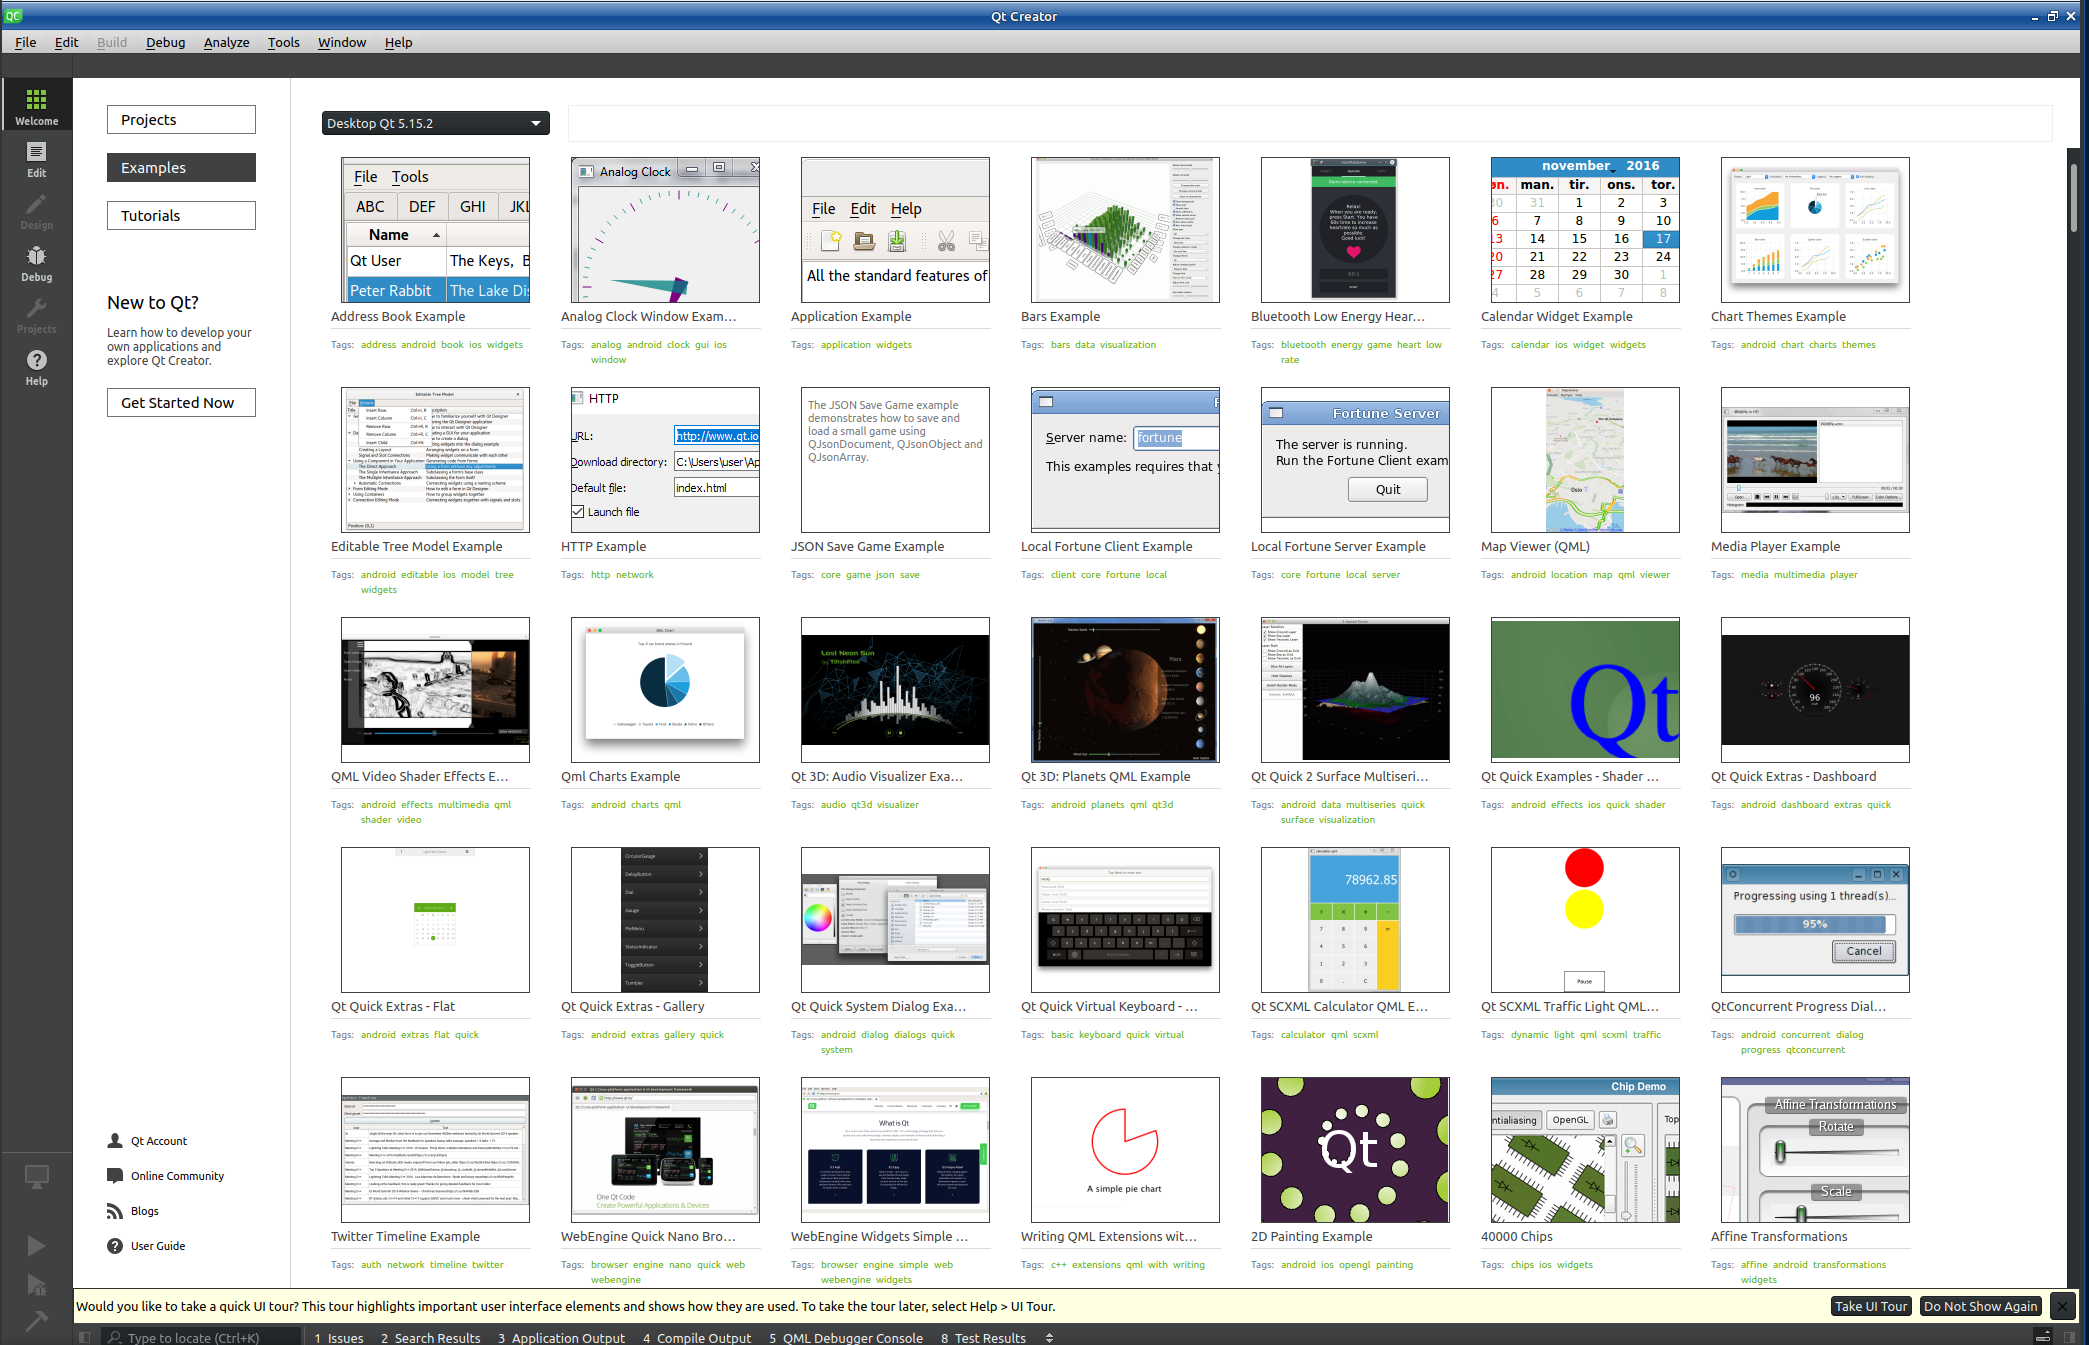
- Open and run a sample application.
Embedded Touchscreens Made Easy:
Up in Days, Smoothly to Production. Get started with a Development Kit.
Reach Technology is now a part of Novanta.
Sales and Engineering
545 First Street
Lake Oswego, OR 97034
503-675-6464
sales@reachtech.com
techsupport@reachtech.com
Manufacturing
4600 Campus Place
Mukilteo, WA 98275
service@reachtech.com
Please send payments to:
Novanta Corporation
PO Box 15905
Chicago, IL 60693
accounts.receivable
@novanta.com