What You Will Find In Your Development Kit
Find These First
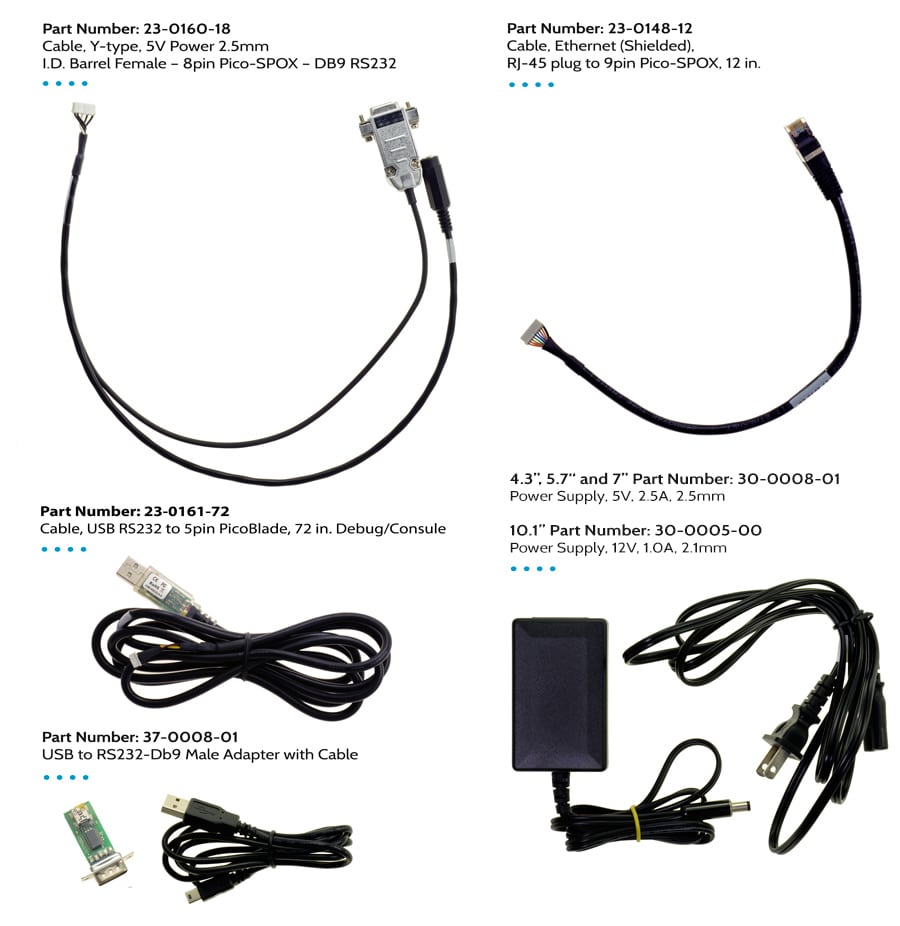
In addition to the display module, here are the items you’ll find in your kit. Additional accessories can be purchased online should you need them for prototyping or to replace items that have broken.
Watch this video to see how to set the G2C1 module up for basic operation.
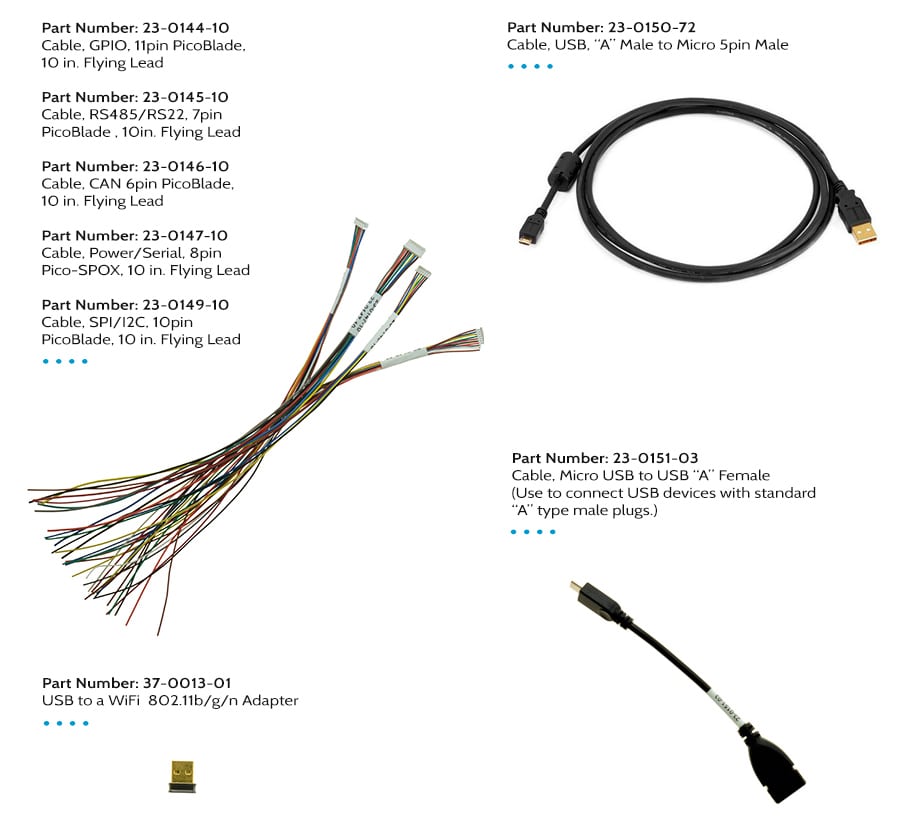
Other Accessories
These items will come into play later in development.
Let’s Get Started
To start the demo:
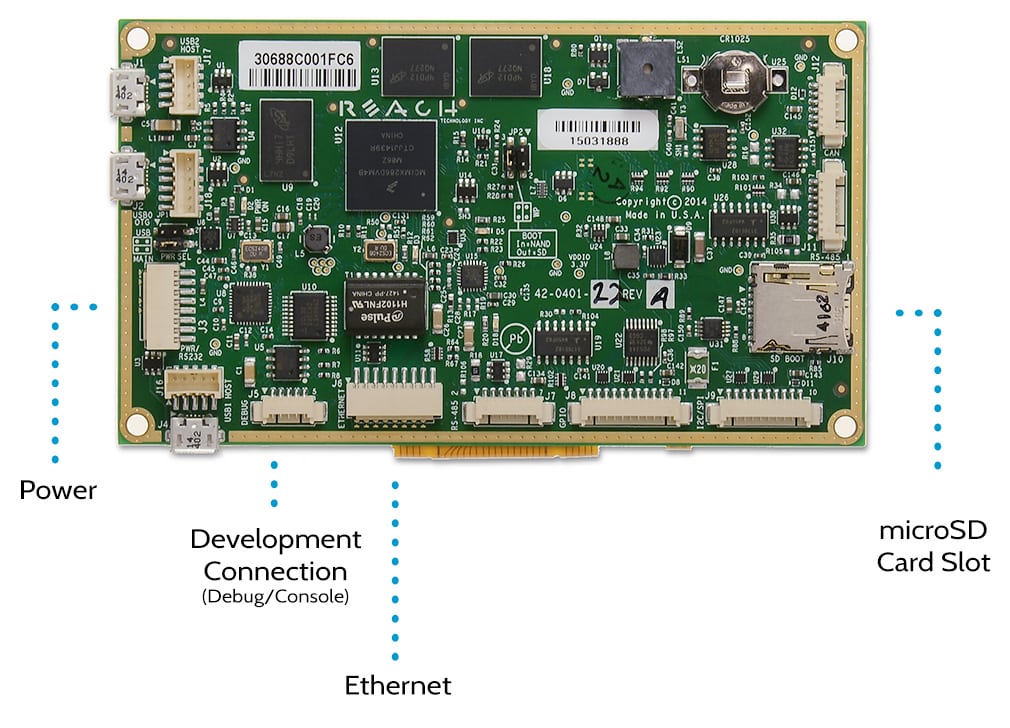
- Insert the SD Card into the SD Card Slot “J10” on the board.
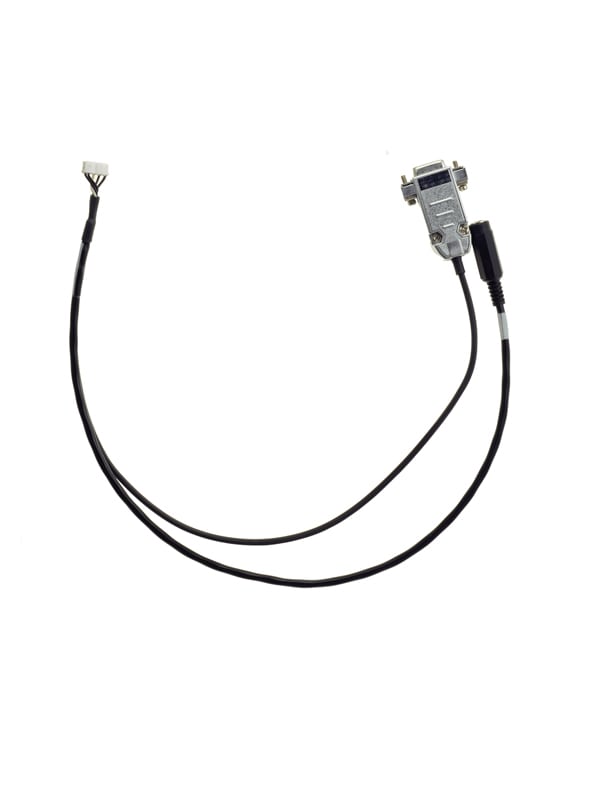
- Locate cable (Part Number: 23-0160-18) and connect the 8-pin PICO connector to the “PWR/RS-232 (J3)” on the board.
- Connect the barrel connector from the Power Supply into the power cable jack on the POWER/RS-232 cable.
- Plug in the Power Supply power cord.
You will be greeted by a boot screen:

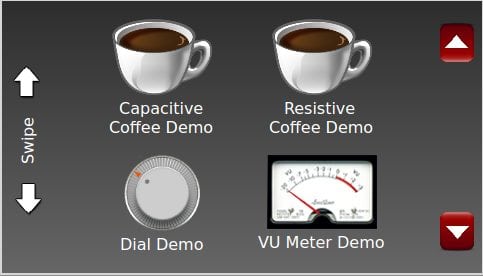
When the boot process finished, you should be presented with the Qt demo screen. Several demos show various features, including coffee demos for both resistive and capacitive screens. To scroll through the demos, use the buttons on the right (best with resistive screens), or the swipe area on the left (best with capacitive screens).
Embedded Touchscreens Made Easy:
Up in Days, Smoothly to Production. Get started with a Development Kit.
Reach Technology is now a part of Novanta.
Sales and Engineering
545 First Street
Lake Oswego, OR 97034
503-675-6464
sales@reachtech.com
techsupport@reachtech.com
Manufacturing
4600 Campus Place
Mukilteo, WA 98275
service@reachtech.com
Please send payments to:
Novanta Corporation
PO Box 15905
Chicago, IL 60693
accounts.receivable
@novanta.com